Illustrating Earthquakes in Motion
Year 5 Visual Arts Exploring movement and destruction through drawing Lesson 3 of 4: Art of Natural Disasters

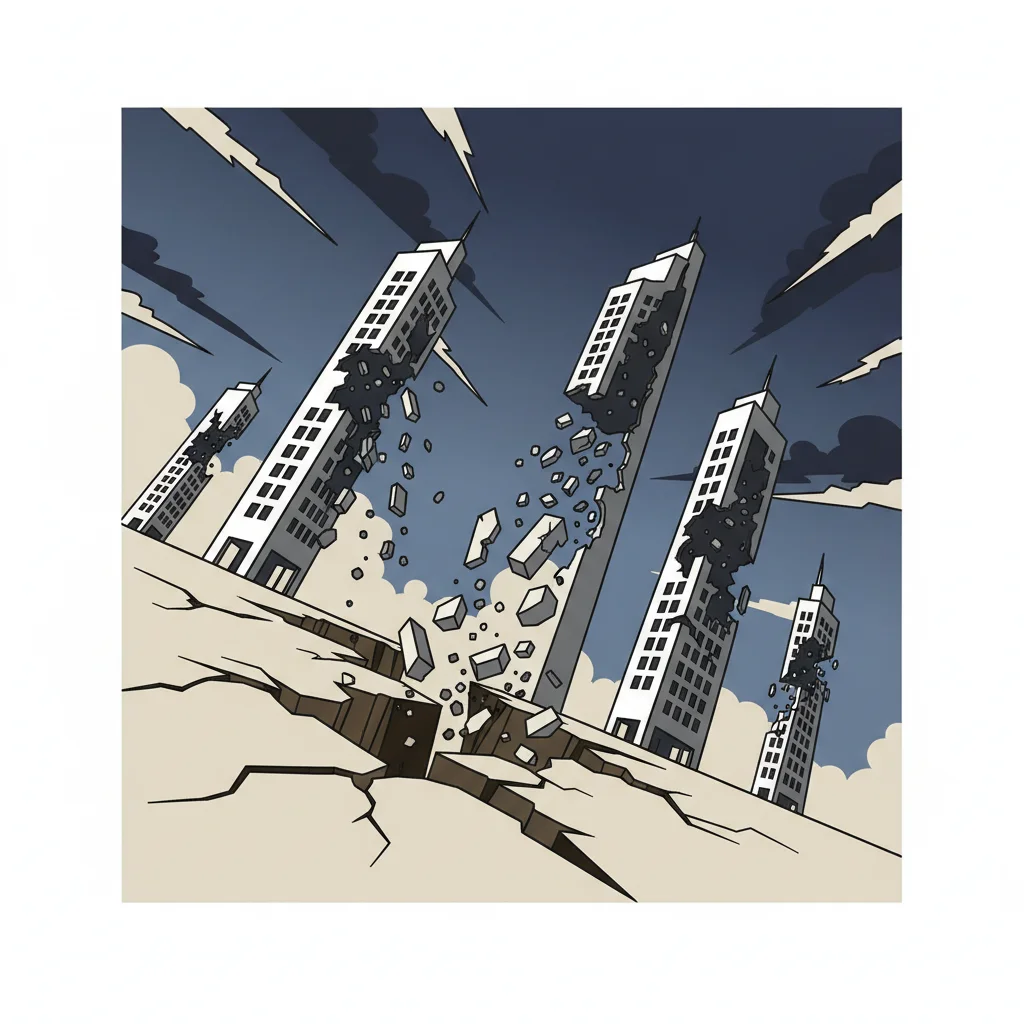
What Are Earthquakes?
The ground shakes and moves suddenly Buildings can crack, tilt, or fall down The earth splits open in some places Everything seems to be moving at once!
How Can We Show Movement in Art?
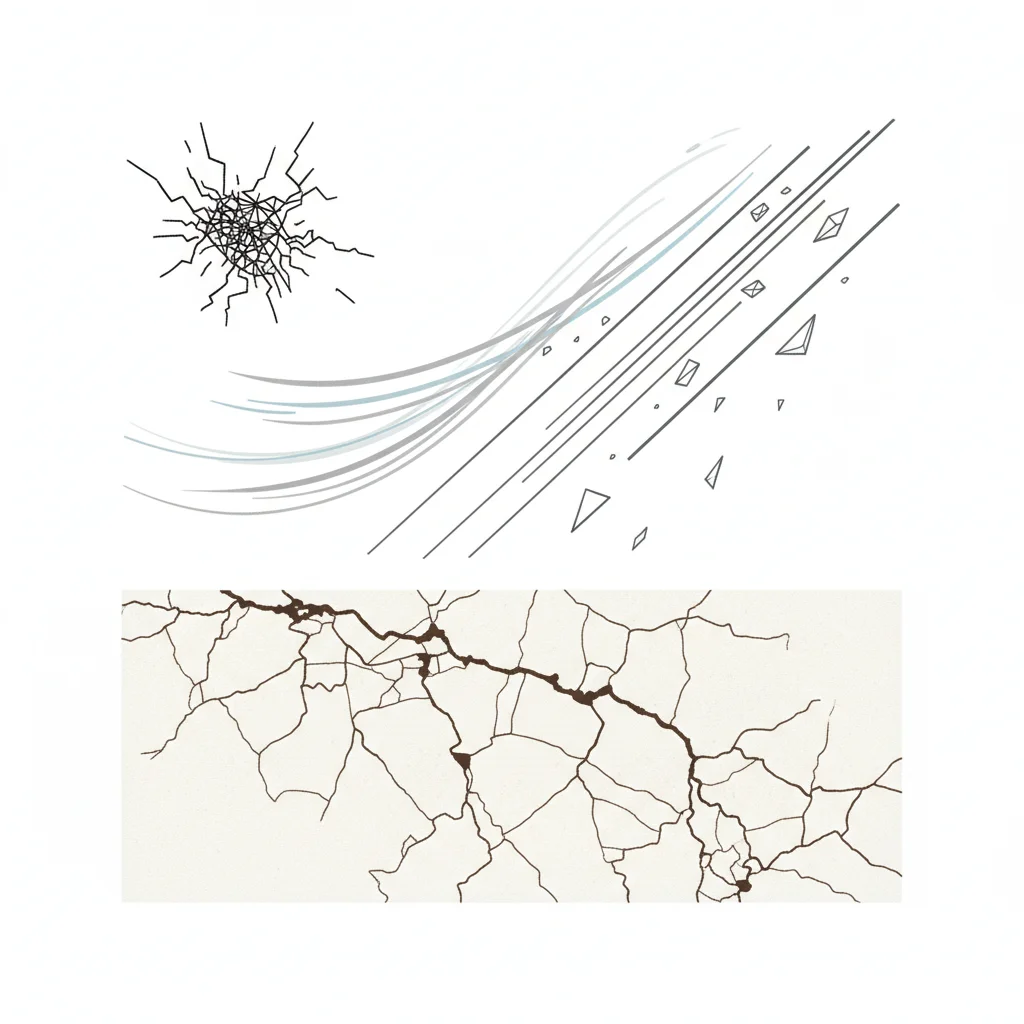
Think about these questions: What lines show something is broken? How do we make things look like they're falling? What happens to straight lines during an earthquake?

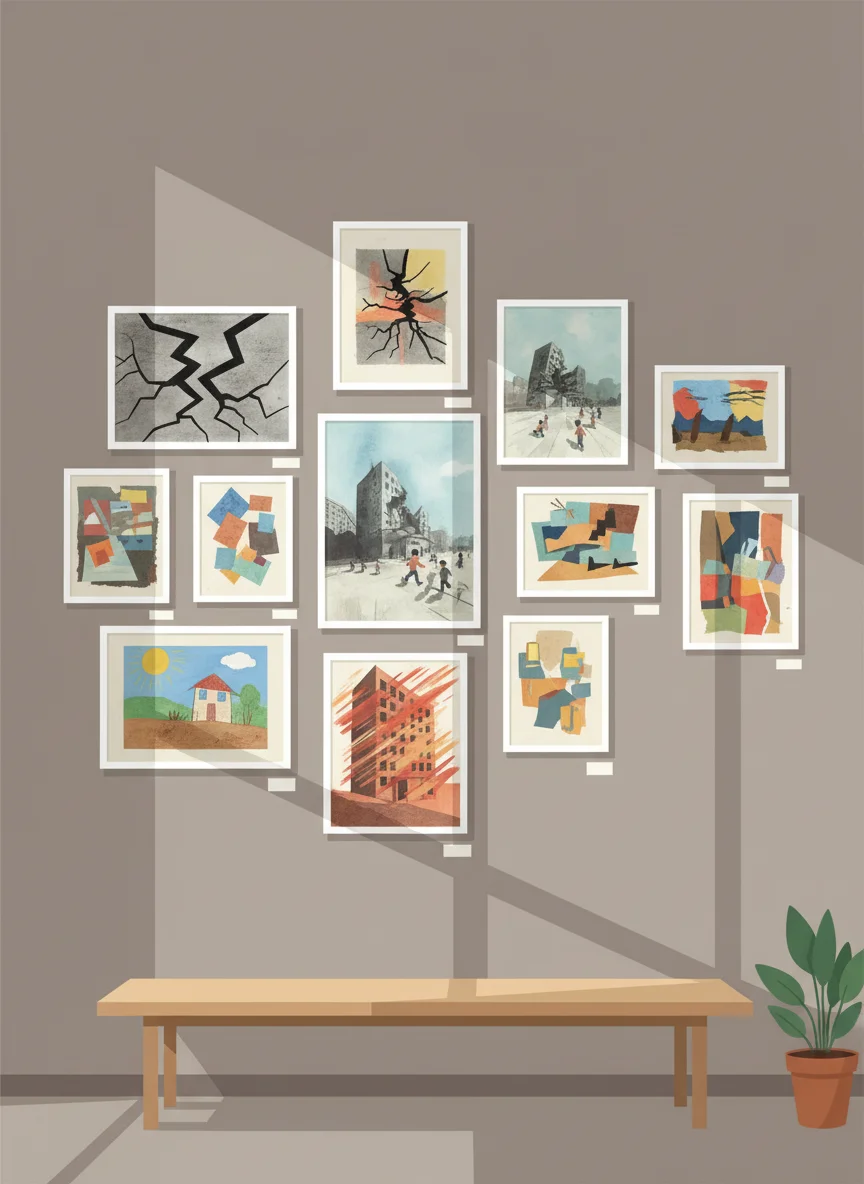
Art Techniques for Earthquake Scenes
Jagged, broken lines for cracks and damage Overlapping shapes to show depth Diagonal lines for falling or tilting objects Motion lines to show movement Different line thickness for emphasis
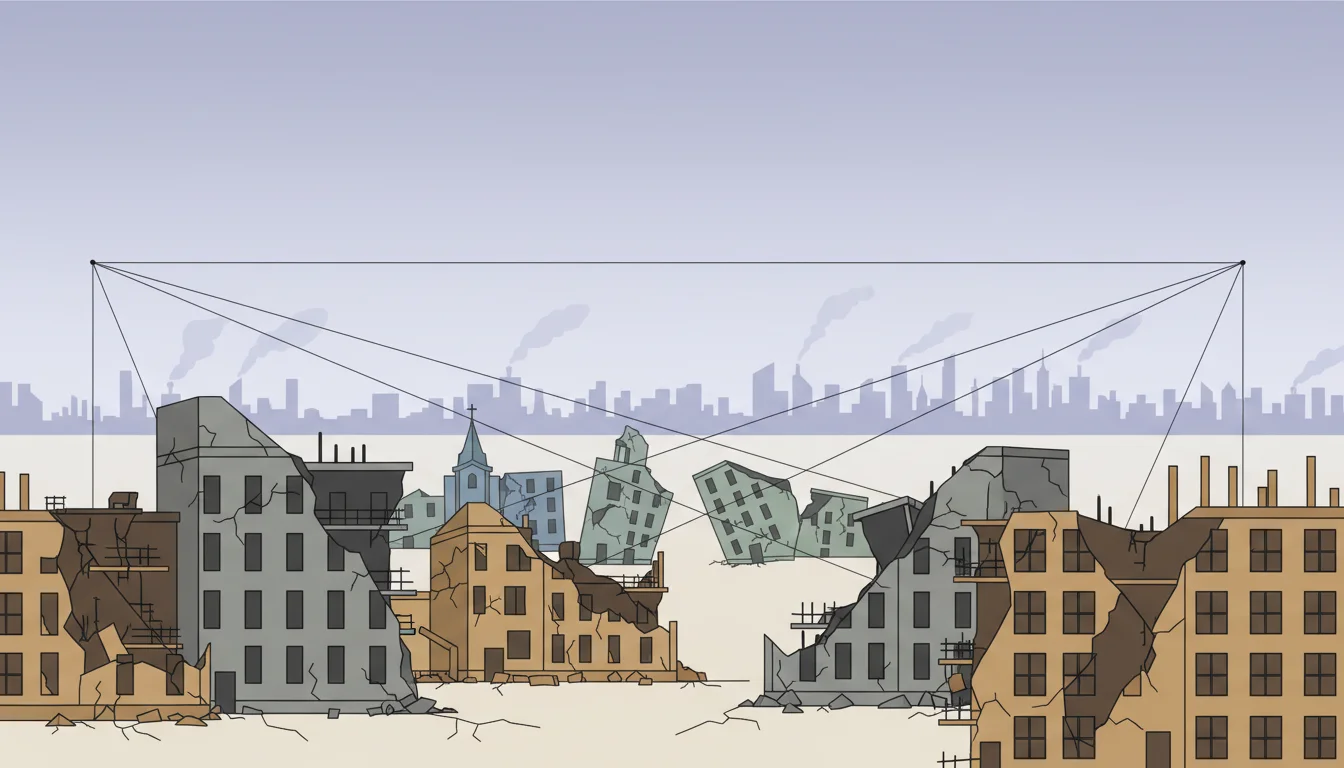
Perspective and Depth in Earthquake Art
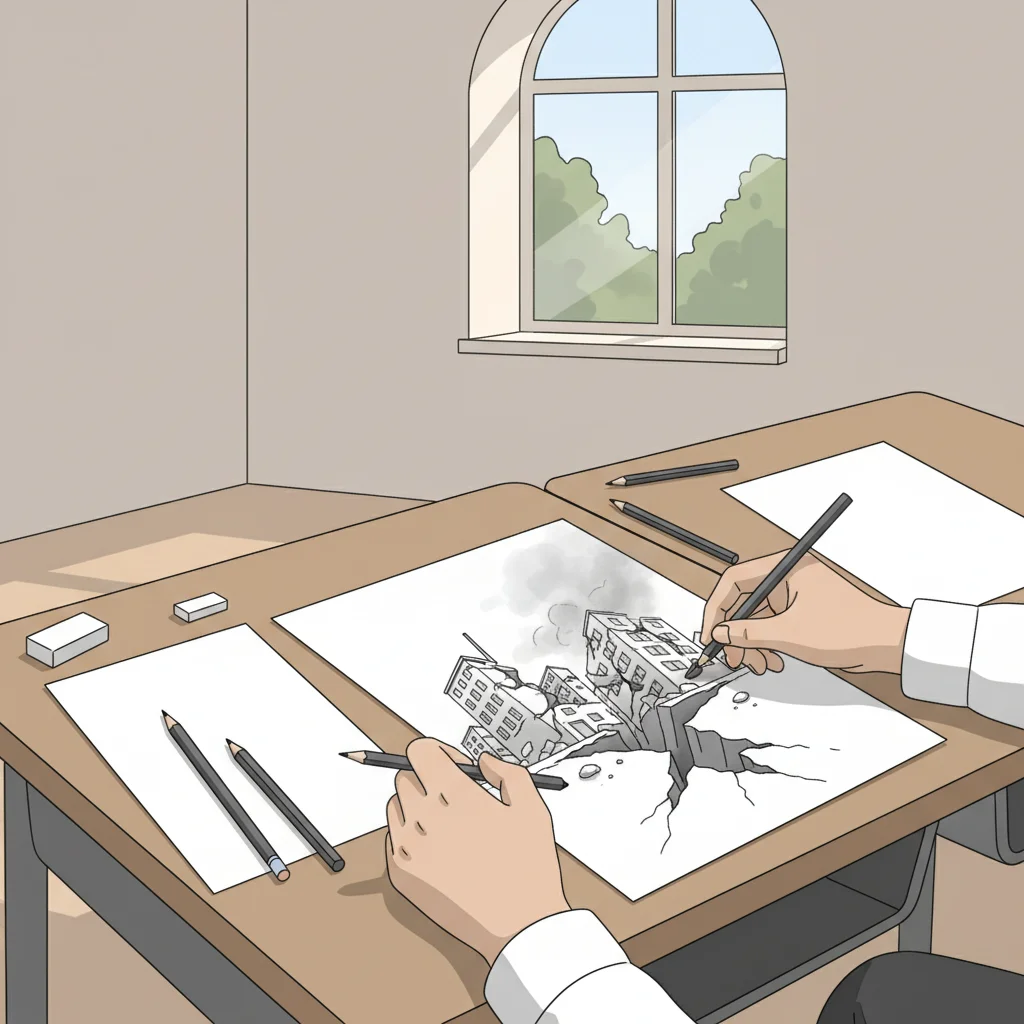
Create Your Earthquake Scene
Choose your scene: city, house, or landscape Start with basic shapes for buildings or ground Add cracks, breaks, and tilting objects Use motion lines to show movement Add shading for depth and drama

Sharing Our Earthquake Art
Present your artwork to your group Explain how you showed movement Describe your use of perspective What techniques worked best for you? How does your art make others feel?
What We Learned Today
How to draw jagged lines for cracks and breaks Using perspective to show depth Making motion lines to show movement Overlapping shapes for realistic scenes Next lesson: Mixed-media natural disaster art!