
Mapping Our School Playground Adventure
Lesson 2: Designing Exciting Playgrounds Year 5 Technology Measuring, Drawing & Mapping
Why Do Designers Need Maps?
Designers need to know the exact size of spaces Maps help us see where everything fits Scale helps us plan new playground features Measurements ensure safety and fun for everyone
Meet Your Measuring Tools
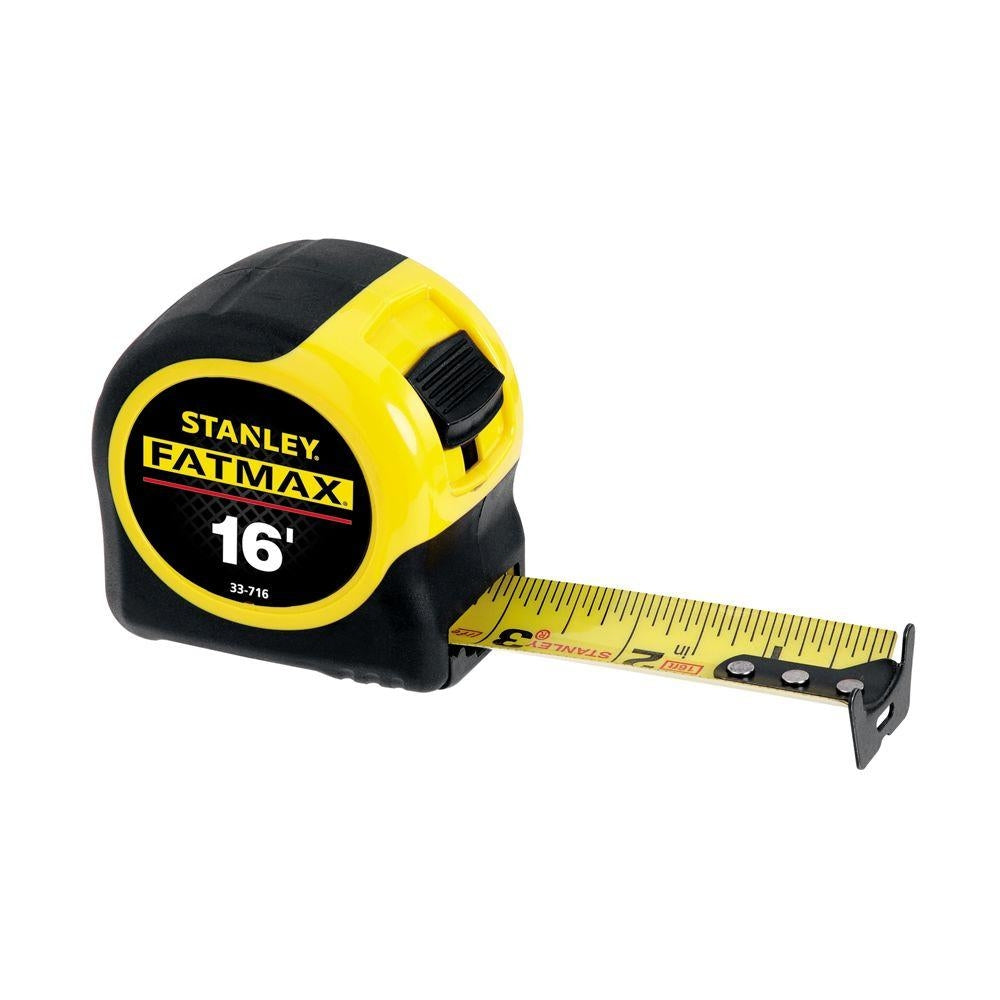
Measuring tape - for accurate distances Trundle wheel - rolls and counts metres Your steps - informal measurement tool Clipboard and pencil - for recording data
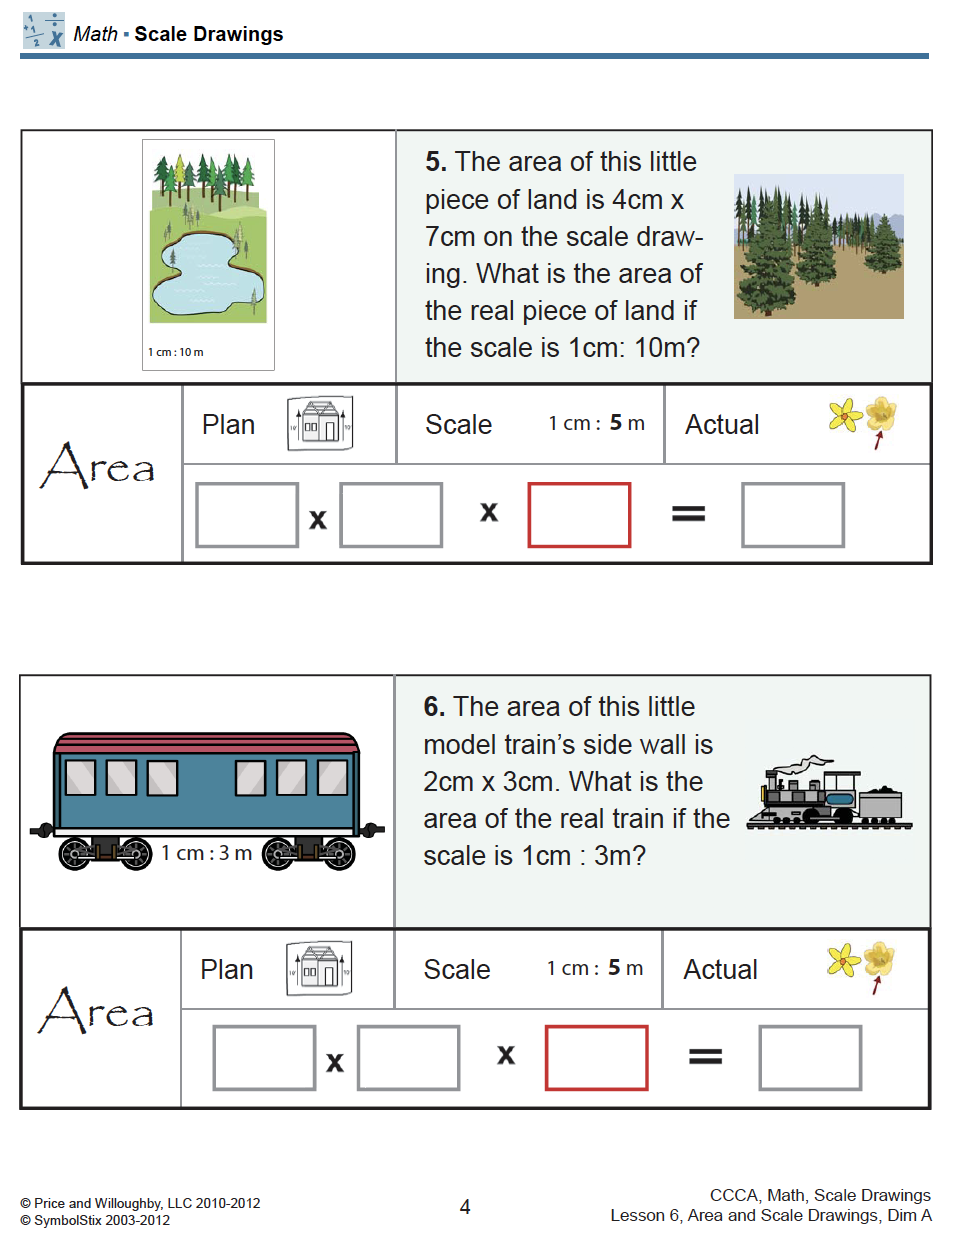
Understanding Scale
Scale helps us fit big spaces on small paper Example: 1 step = 1 centimetre on paper A 10-step distance = 10cm line on your map Keep the same scale for your whole drawing
Your Team Mission
{"left":"Group 1: Slide and climbing area\nGroup 2: Swings and see-saw zone\nGroup 3: Sports court and field\nGroup 4: Sandpit and quiet areas\nGroup 5: Paths and entrance areas","right":"Measure length and width carefully\nRecord all measurements\nNote special features and landmarks\nTake photos if available\nWork safely as a team"}

Outdoor Measurement Challenge
Work in your assigned playground section Measure carefully using your tools Record all measurements on your clipboard Note important features and landmarks Take photos of your area (if available) Remember: Safety first, accuracy second!

Creating Your Scale Drawing
Use your recorded measurements Apply our agreed scale (1 step = 1cm) Draw the outline of your section first Add and label all important features Make your drawing neat and clear Include a title and scale note

Reflection & Next Steps
What was challenging about measuring outdoors? How accurate do you think your scale drawing is? What would you improve about our playground? How will we combine all sections into one big map?