Hazard Maps: New Zealand's Natural Risks
Understanding and preparing for natural disasters Year 8 Geography New Zealand Curriculum

What Are Hazard Maps?
Visual tools showing areas at risk from natural disasters Use colours and symbols to indicate danger levels Help communities prepare and plan for emergencies Created by scientists using data and research
Think About This
What natural disasters have you heard about in New Zealand? Why might some areas be more dangerous than others?
New Zealand's Main Natural Hazards
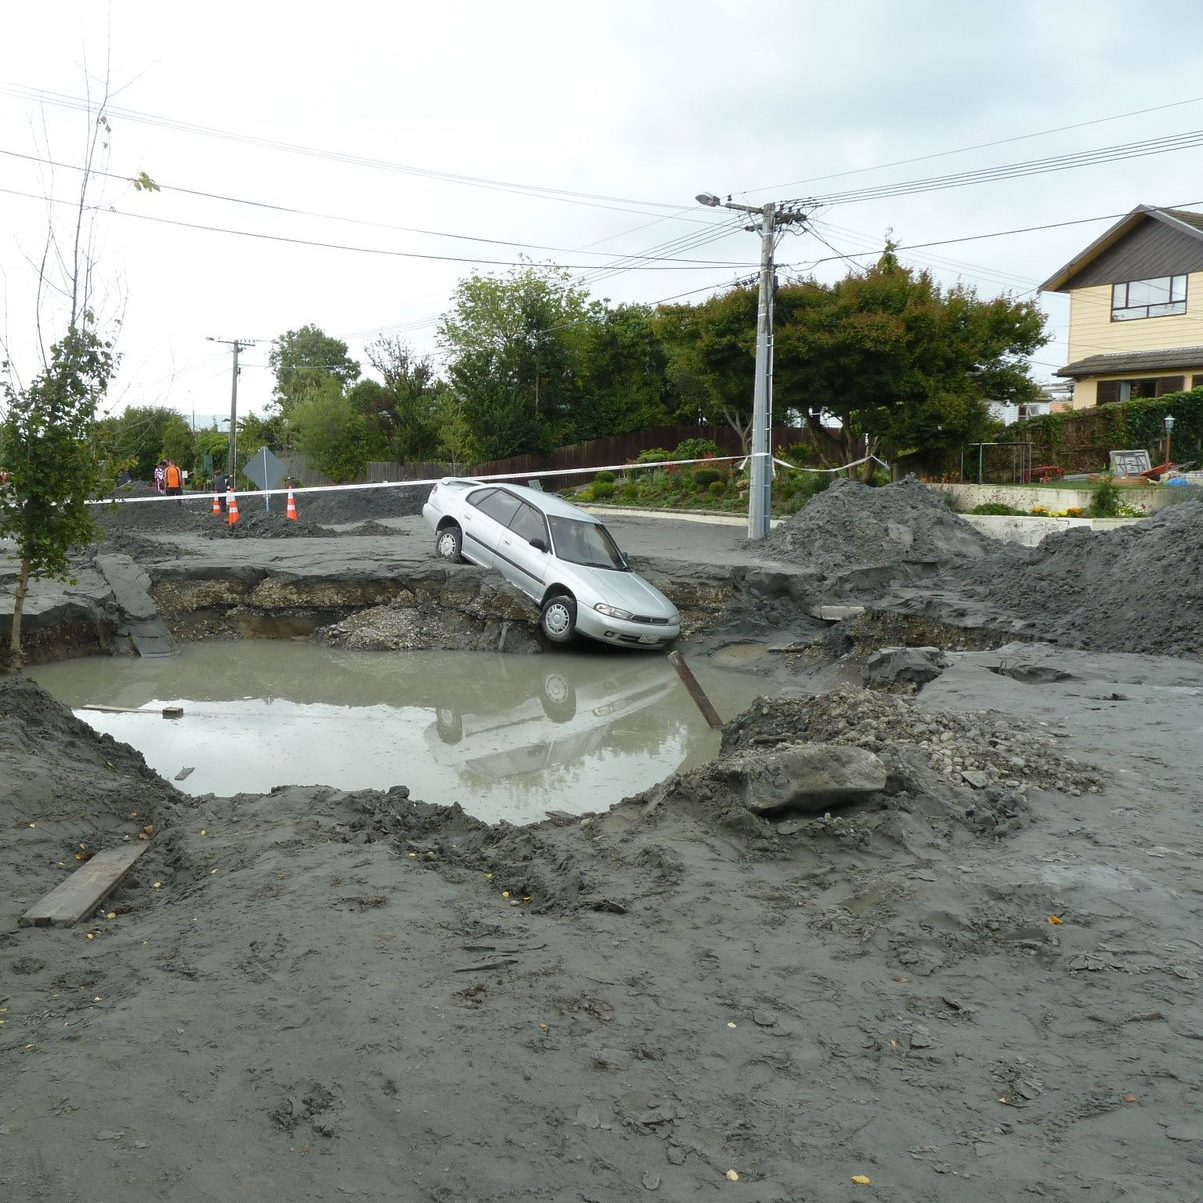
Earthquakes - sitting on tectonic plate boundaries Volcanic eruptions - active volcanic zones Flooding - heavy rainfall and rivers Landslides - steep terrain and weather Tsunamis - coastal earthquake risks

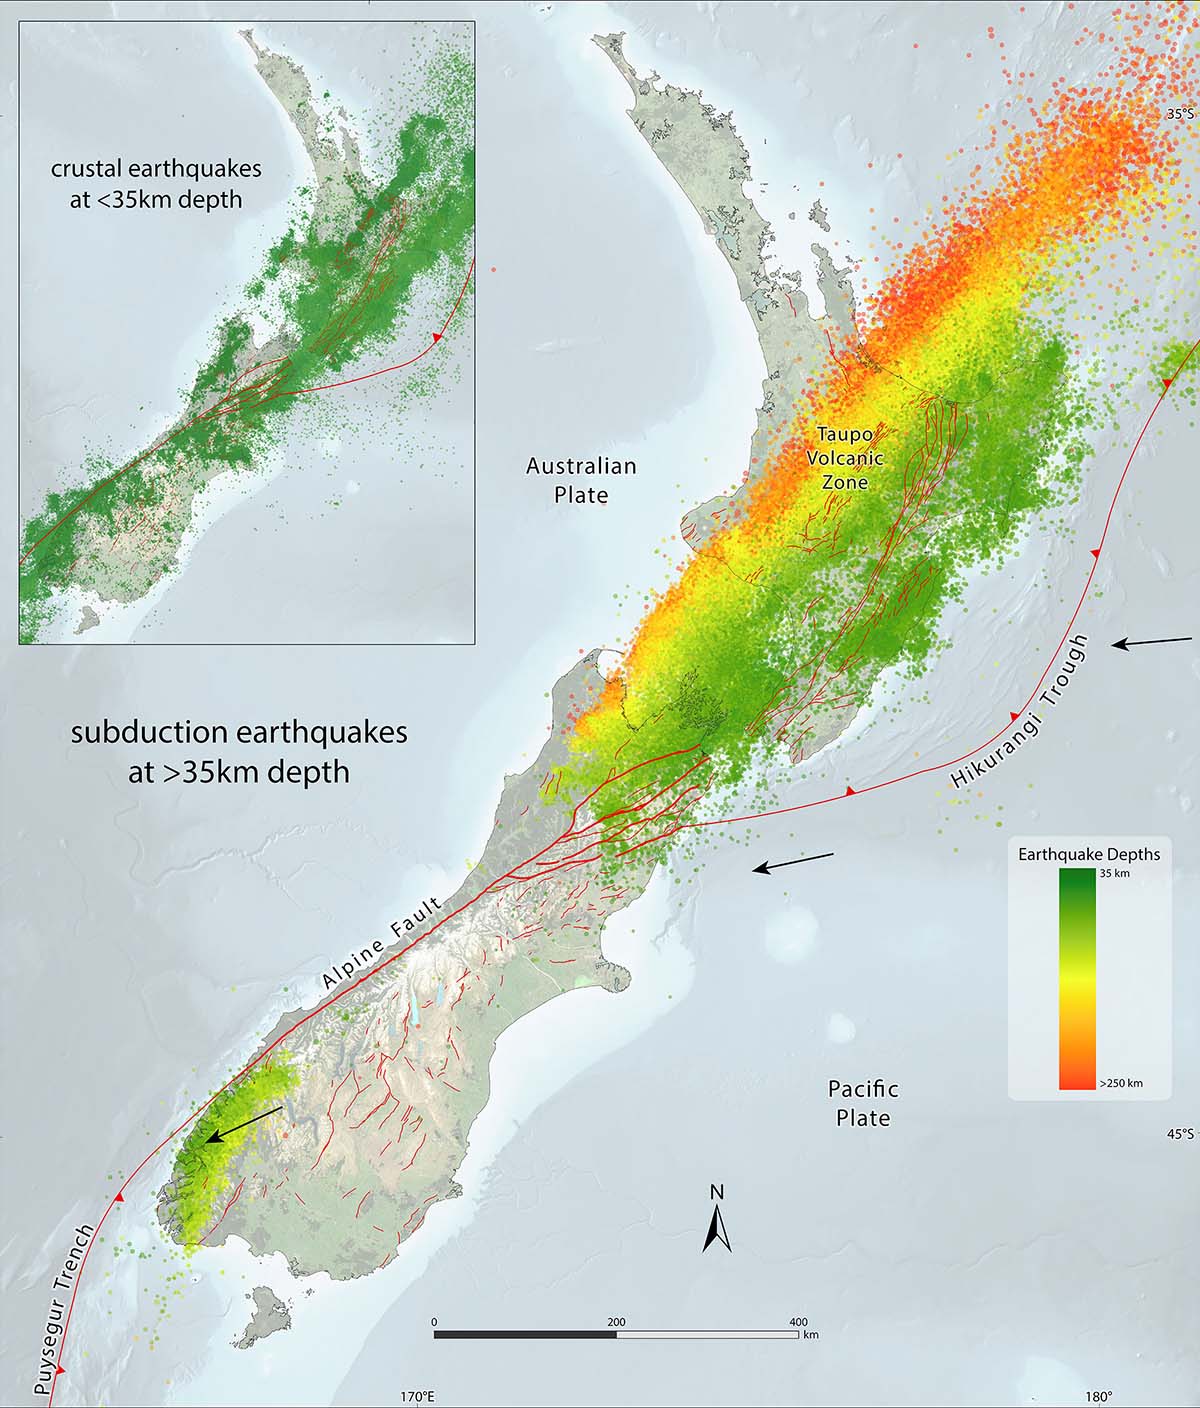
New Zealand's Tectonic Setting

Reading a Hazard Map
Look at the earthquake hazard map provided Identify areas of high, medium, and low risk Find your local area - what's the risk level? Discuss why some areas are riskier than others
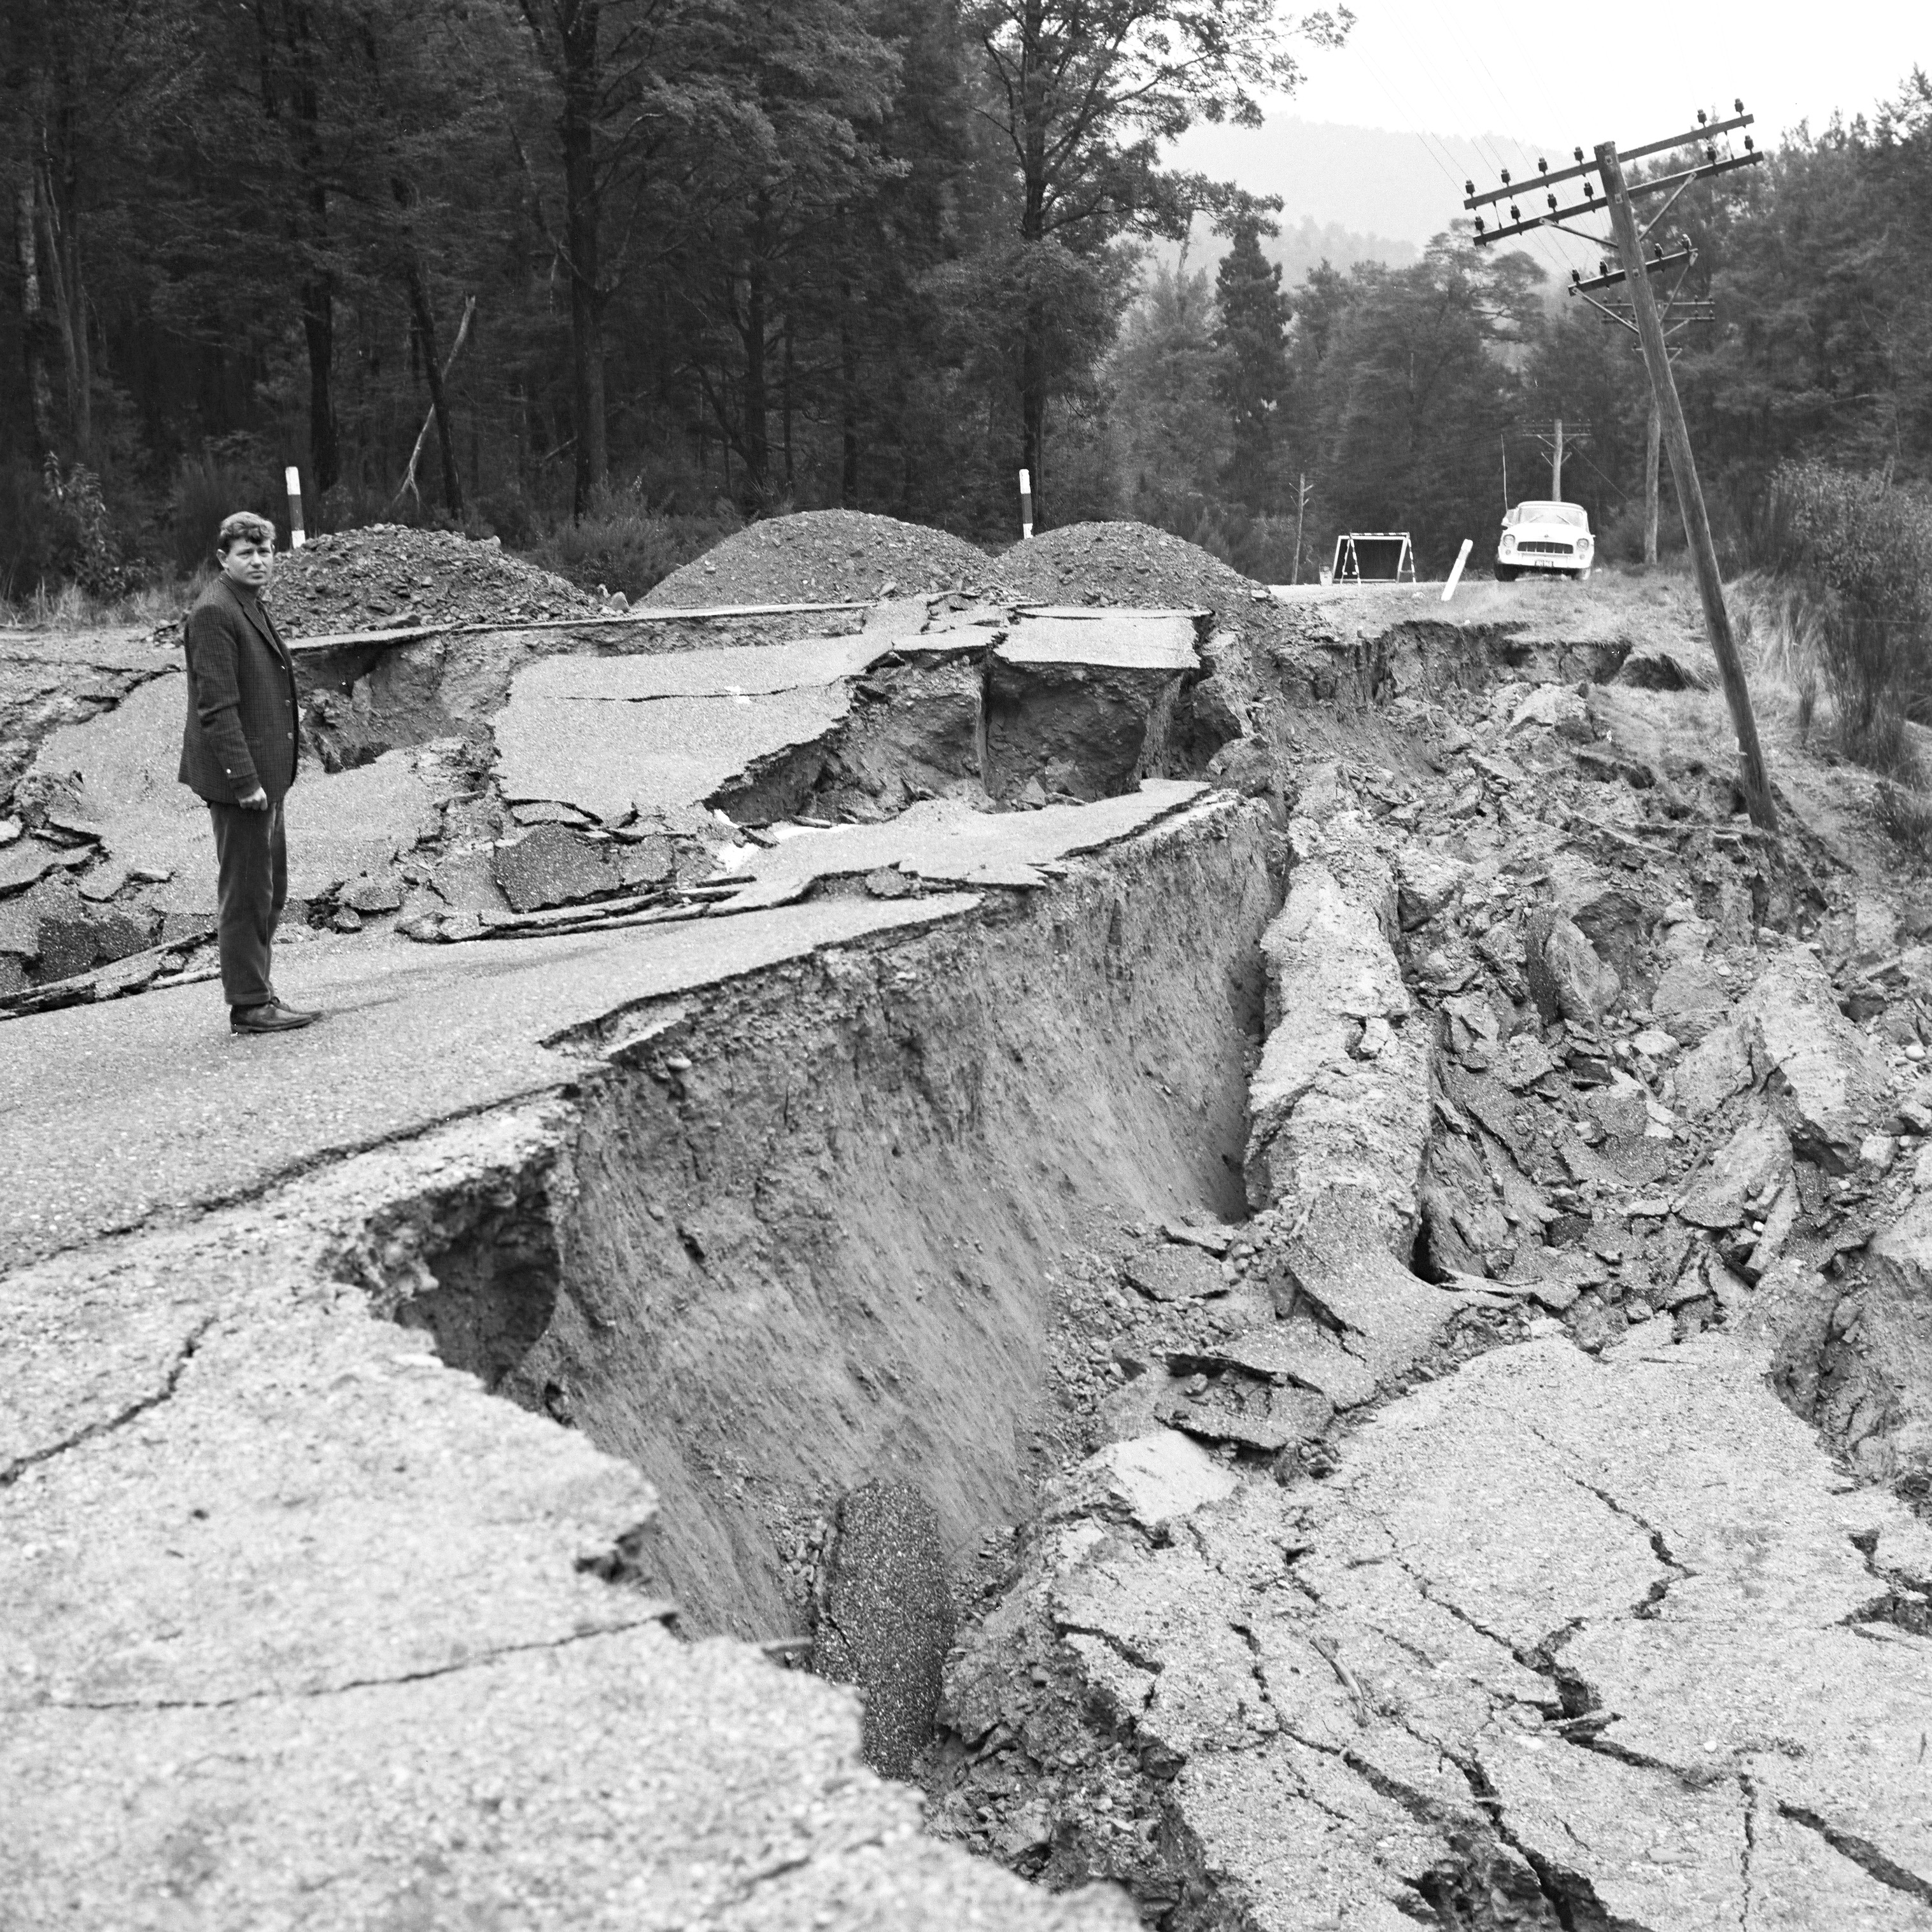
High Risk vs Low Risk Areas
{"left":"Wellington - multiple fault lines nearby\nChristchurch - soft soils amplify shaking\nAlpine Fault region - major fault zone\nWest Coast - steep terrain and heavy rain","right":"Otago - more stable geological conditions\nNorthland - fewer active fault lines\nSome inland areas - distance from major faults\nStable rock foundations in some regions"}
How Hazard Maps Help Communities
Building codes - stronger construction in high-risk areas Emergency planning - evacuation routes and shelters Insurance decisions - risk affects costs Land use planning - avoiding dangerous areas Public education - helping people prepare
Being Prepared Saves Lives
'The goal is not to predict disasters, but to be prepared for them when they happen.' - Emergency Management Principle
Your Role in Hazard Awareness
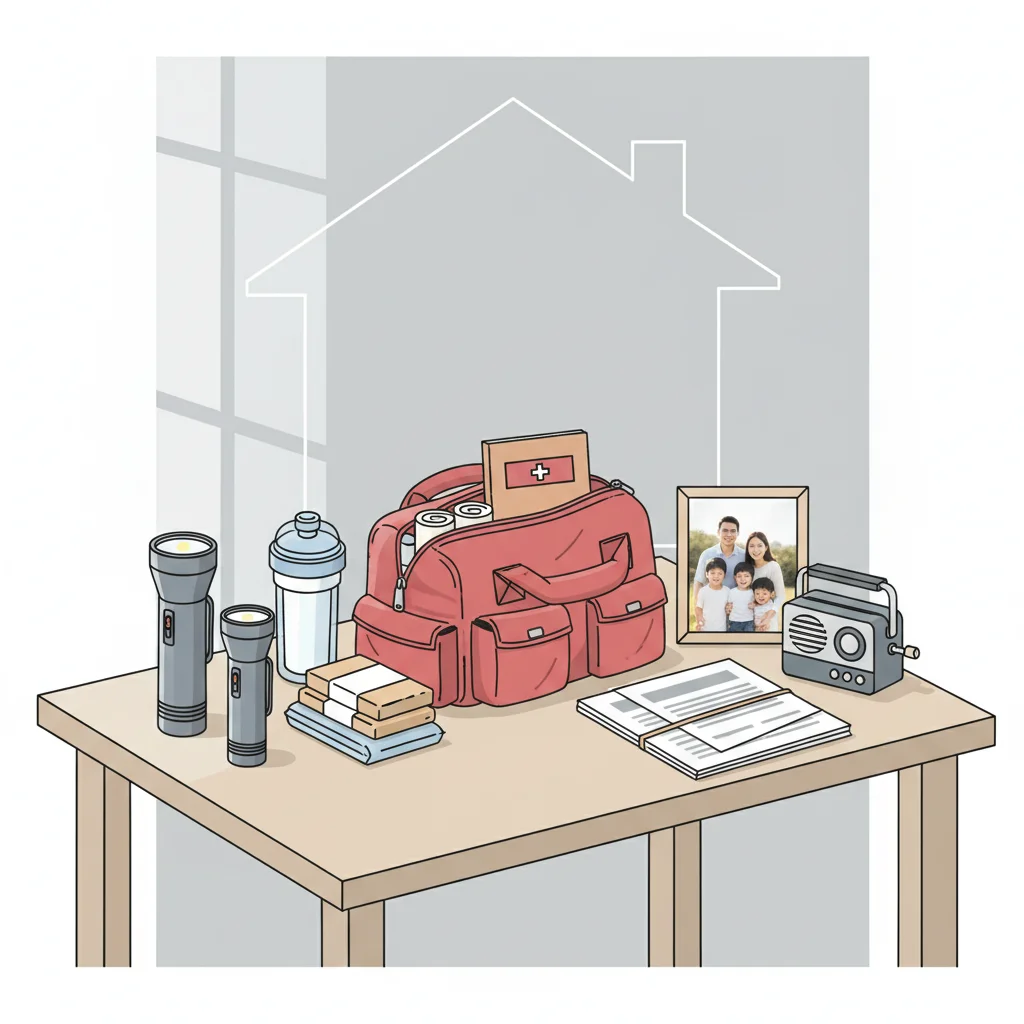
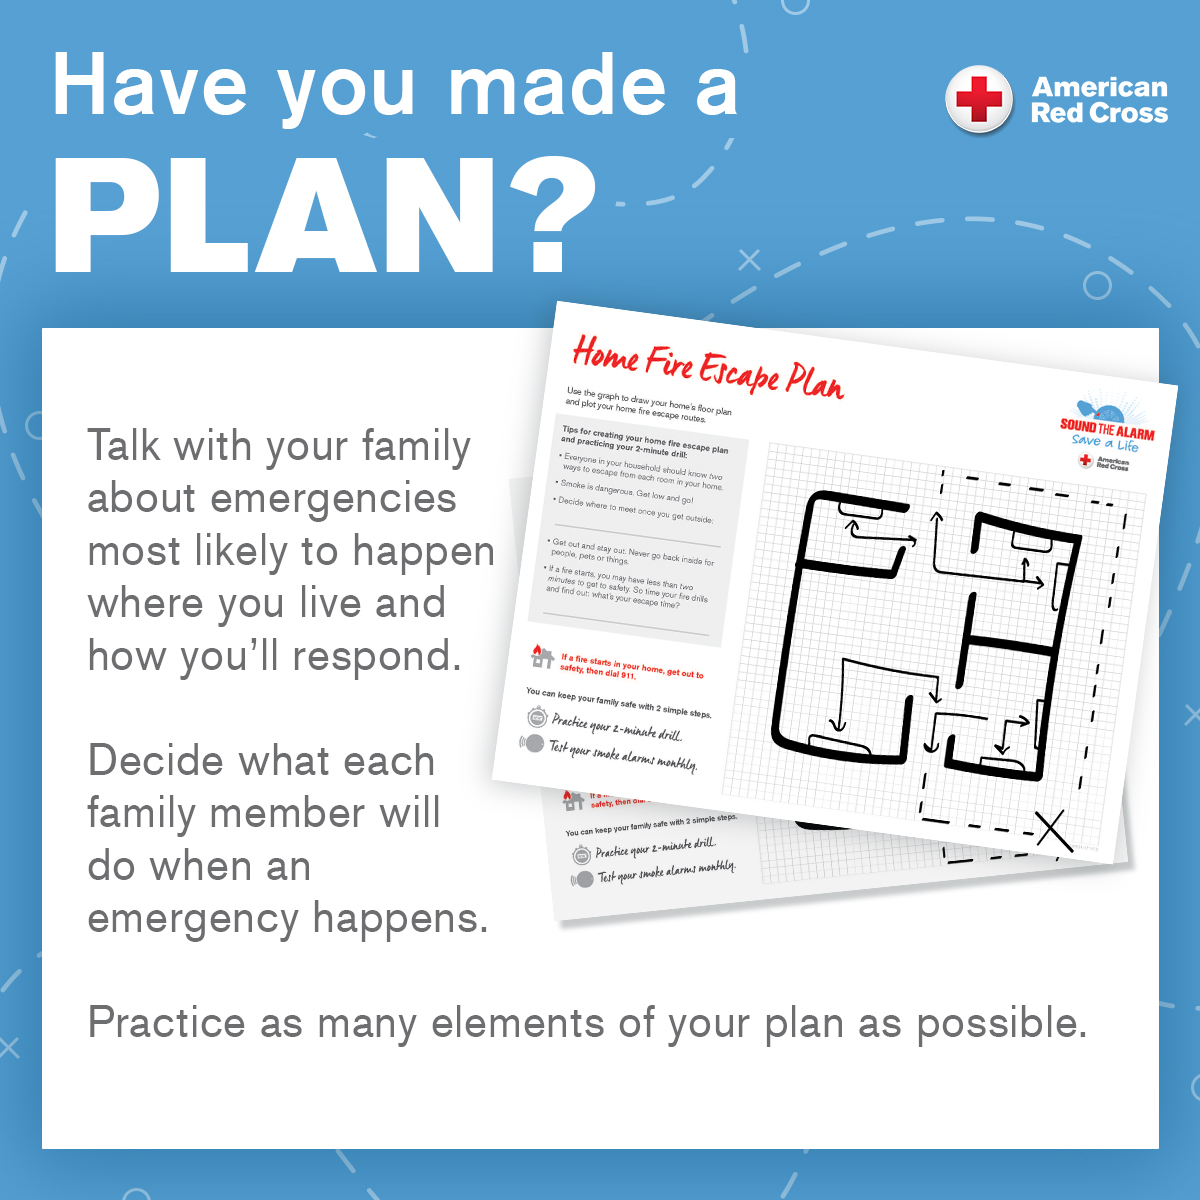
Know your local hazards - check hazard maps for your area Have an emergency plan - discuss with your family Prepare an emergency kit - supplies for 3 days Stay informed - follow Civil Defence updates Share knowledge - help others understand risks