Stop Motion Storytelling: Bring It Alive!
Learn to create amazing animated stories Using simple tools and creativity Year 4 Digital Technology & Art
What is Stop Motion?
Taking lots of photos of objects Moving objects slightly between each photo Playing photos quickly to create movement Like a flipbook but with a camera!

Famous Stop Motion Movies

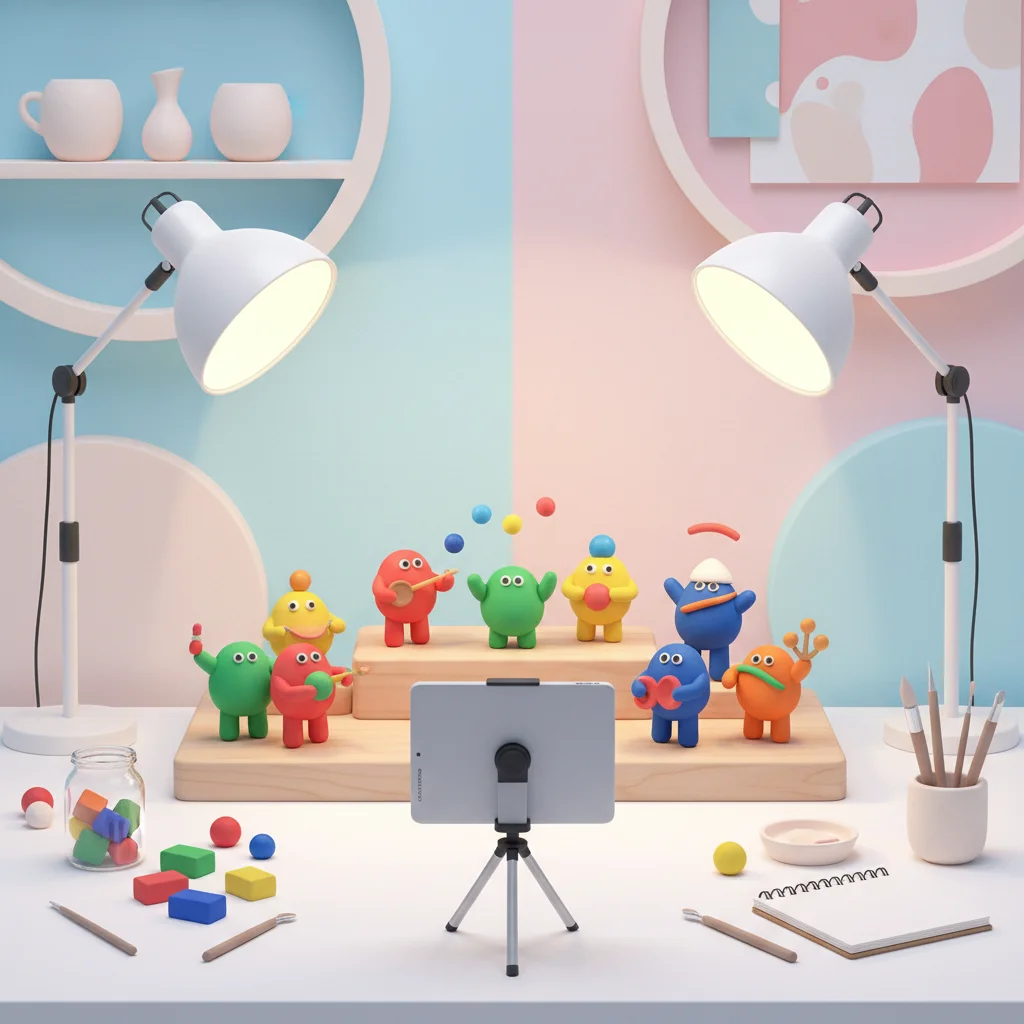
Step 1: Set Up Your Studio
Find a quiet, well-lit space Position your iPad on a stable surface Make sure the iPad won't move at all Use books or a tripod to keep it steady

Practice: Camera Setup Challenge
Work in pairs to set up your filming station Test that your iPad stays perfectly still Take 3 test photos without moving the iPad Check that all photos look the same
Step 2: Plan Your Story
Choose simple characters (toys, clay figures) Plan a short story with clear beginning, middle, end Keep movements simple and small Remember: less is more for your first try!
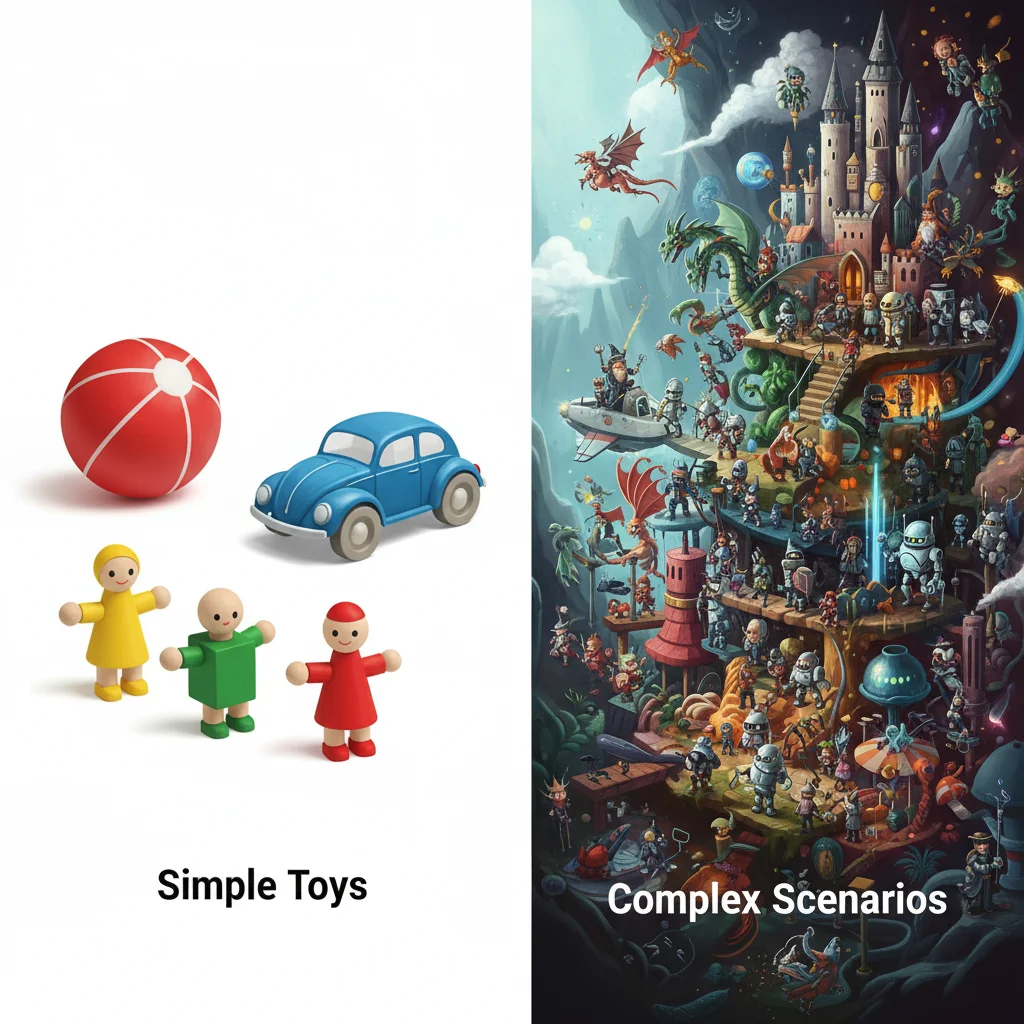
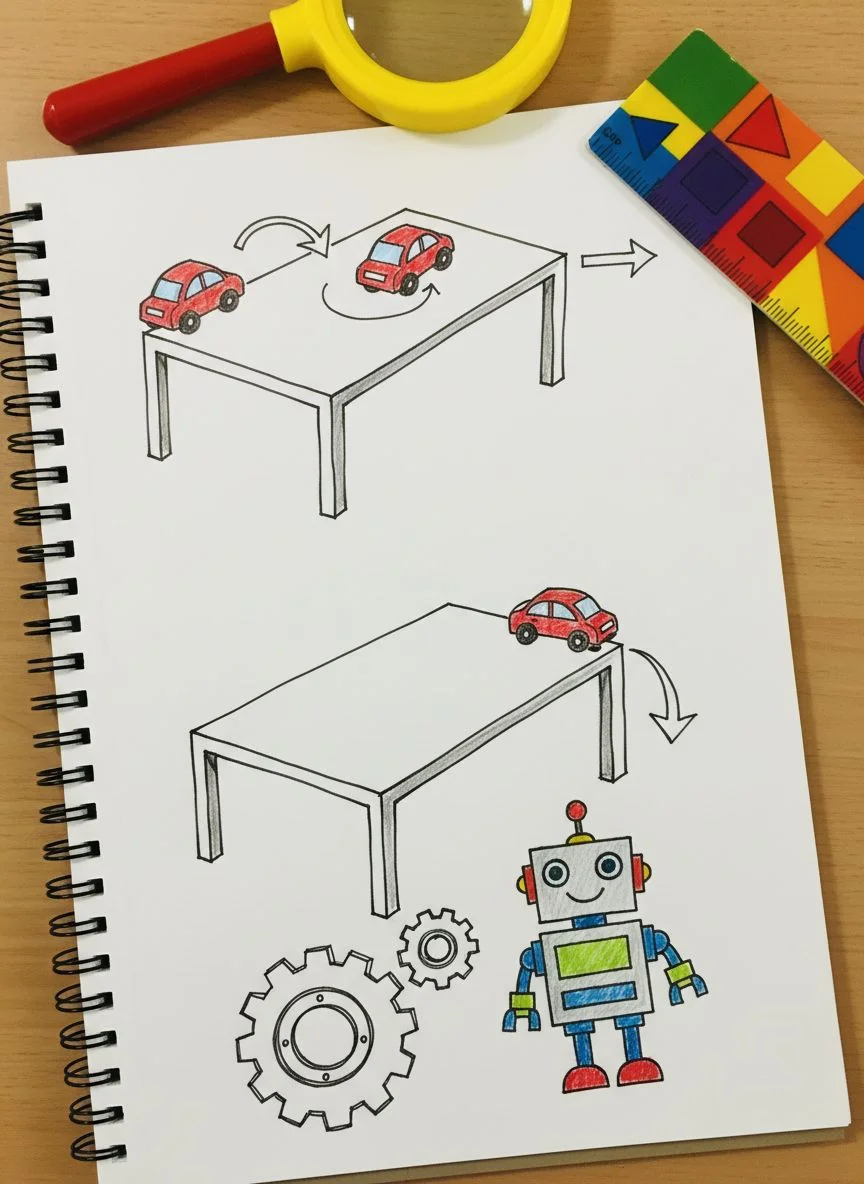
Good vs. Tricky Story Ideas
{"left":"A ball rolling across the table\nA toy car driving in a circle\nA character waving hello\nA flower growing taller","right":"A character doing backflips\nMultiple characters talking\nComplex facial expressions\nFast action scenes"}
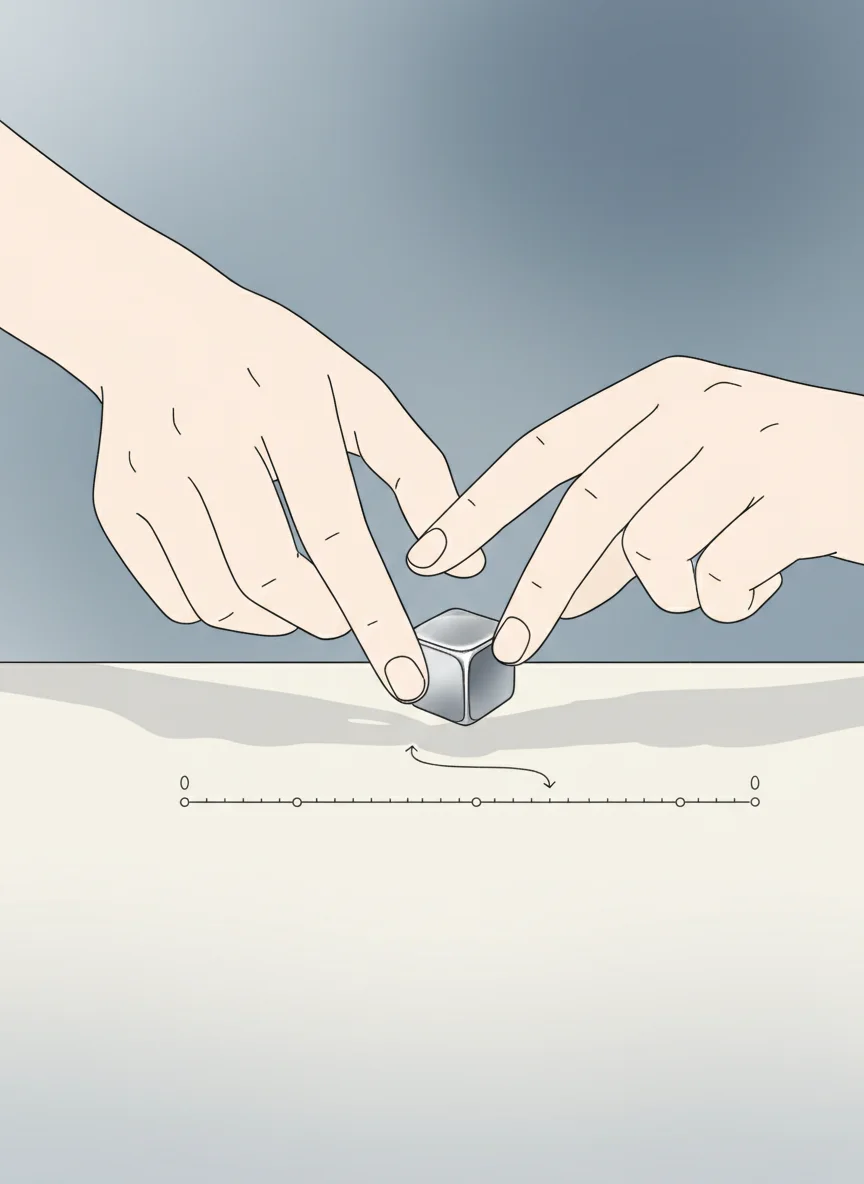
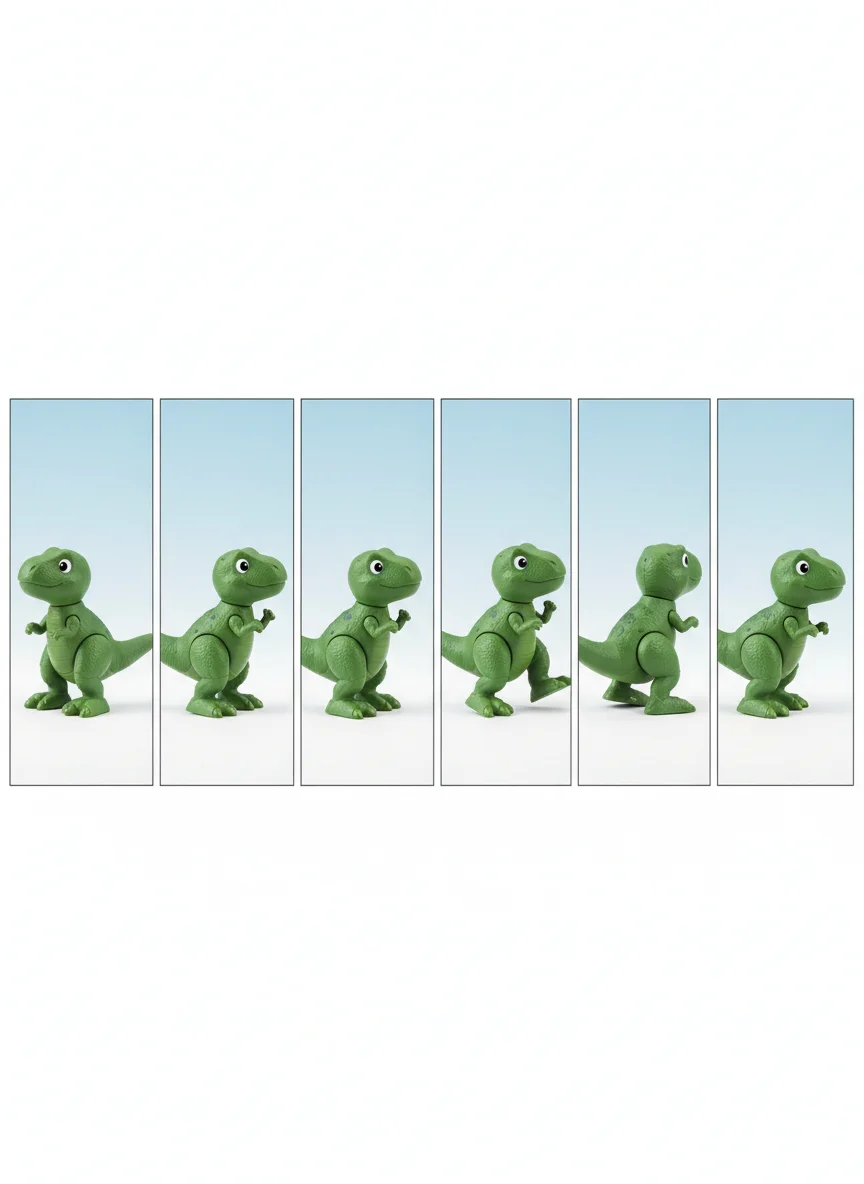
Step 3: The Magic of Small Movements
Move your character only 1-2cm each time Take a photo after each tiny movement The smaller the movement, the smoother the animation Be patient - this takes time!
Think About It: How Many Photos?
If you want your character to walk across a 30cm table... And you move it 1cm each time... How many photos will you need? What if you move it 2cm each time instead?

Create Your Stop Motion Story!
Set up your characters and story Start filming - remember tiny movements! Take at least 20-30 photos Play back your animation and see the magic!
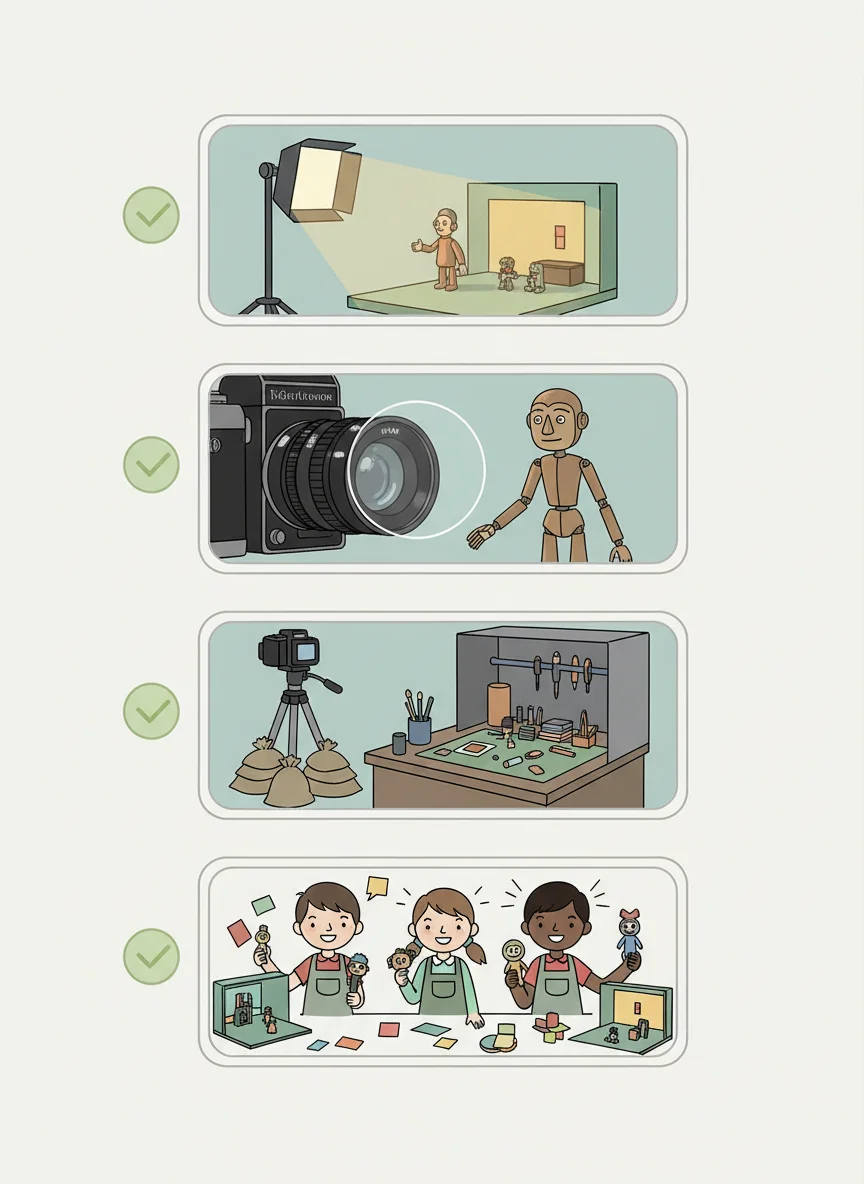
Tips for Amazing Stop Motion
Keep your lighting the same throughout Make sure photos are in focus before moving on Don't bump the table or iPad! Save your work regularly Have fun and be creative!