Comparing Fractions with Visual Tools
Year 7 Mathematics Using visual aids to understand fraction relationships Duration: 50 minutes
Learning Objectives
Use correct notation to describe parts of shapes as fractions Compare simple fractions using visual aids and reasoning Translate visual fractions into numeric notation Order fractions from smallest to largest
Starter: Fraction Notation Quickfire
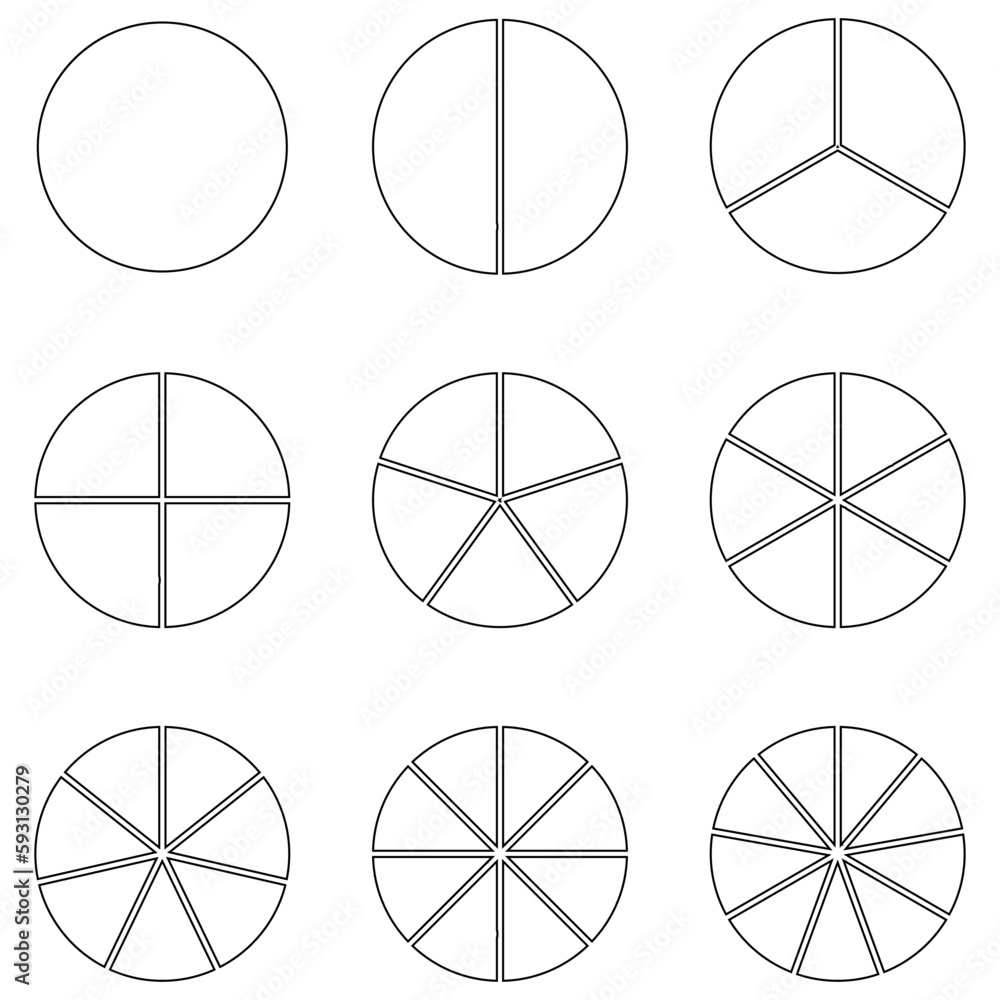
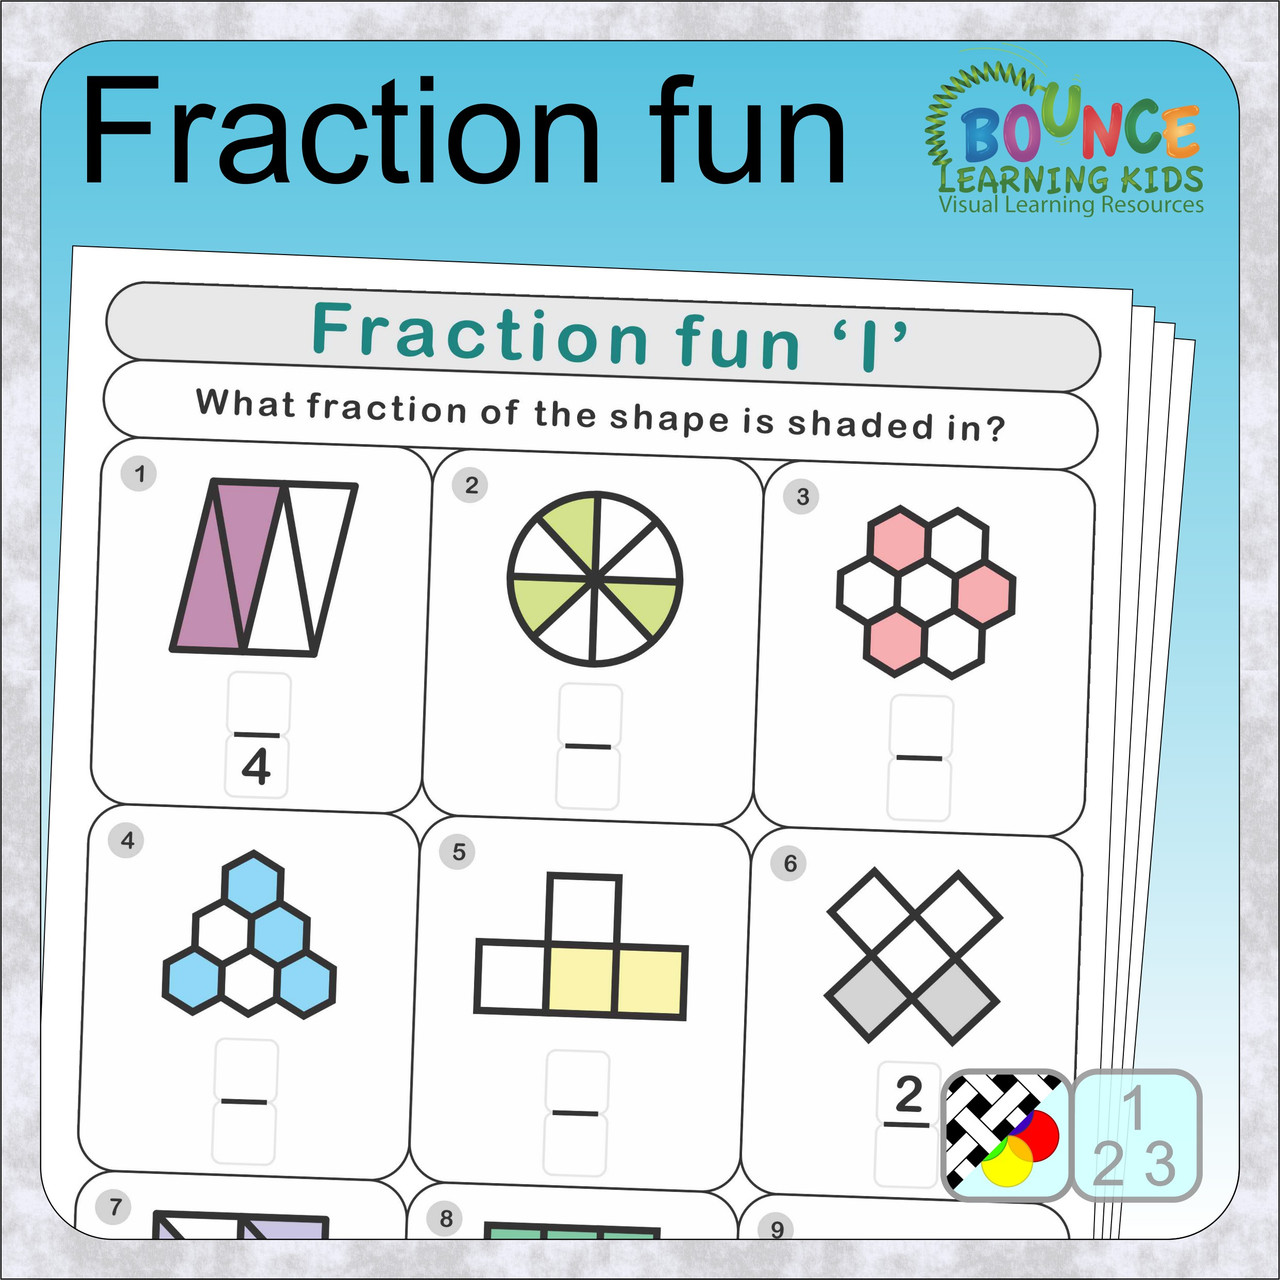
Look at the shapes on your whiteboard Write the fraction that represents the shaded part Use proper notation: numerator/denominator Be ready to explain your answer!
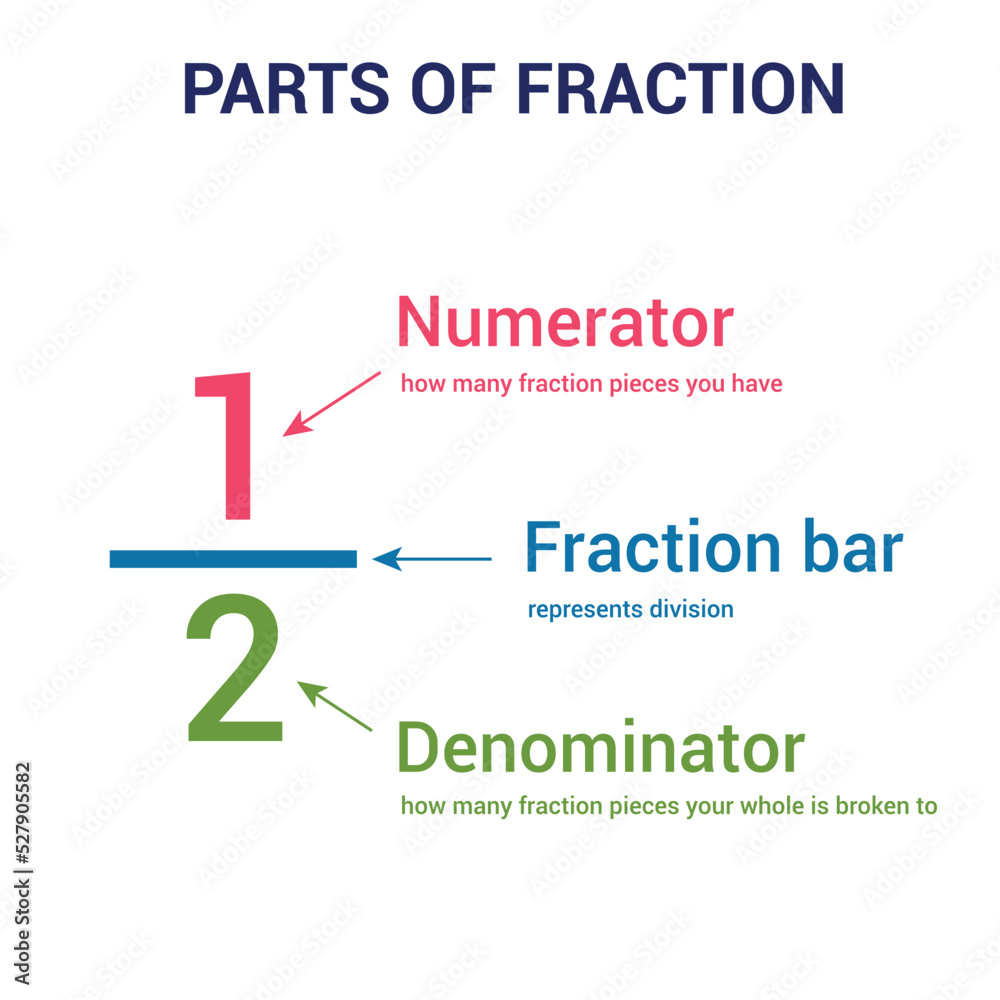
Understanding Fraction Components
Numerator: the top number (parts we have) Denominator: the bottom number (total equal parts) Example: In 3/4, we have 3 out of 4 equal parts The denominator tells us how the whole is divided

Hands-On Comparison Activity
Work in pairs with fraction strips and circles Create fractions: 1/2, 1/3, 1/4, 2/3, 3/4 Place strips side by side to compare sizes Record your comparisons using <, >, or = symbols Explain your reasoning to your partner

Comparing Fractions Strategies
{"left":"Same denominator: compare numerators\n2/5 vs 3/5 → 3/5 is larger\nSame numerator: compare denominators","right":"1/3 vs 1/4 → 1/3 is larger\nVisual method: use fraction strips\nConvert to same denominator when needed"}
Challenge Question
Which is larger: 2/3 or 3/4? Use your fraction circles to find out Explain your reasoning What strategy did you use?
Summary and Next Steps
We can compare fractions using visual tools Fraction strips and circles help us see relative sizes Mathematical notation helps us record comparisons Practice will make fraction comparison automatic Next lesson: Adding and subtracting fractions