Drawing Feathers: Textures and Marks
Year 1 Art and Design Exploring textures through observation Using different drawing tools

What We Will Learn Today
Look carefully at real feathers Try different drawing tools Make two different feather drawings Work with a partner Share our art with others

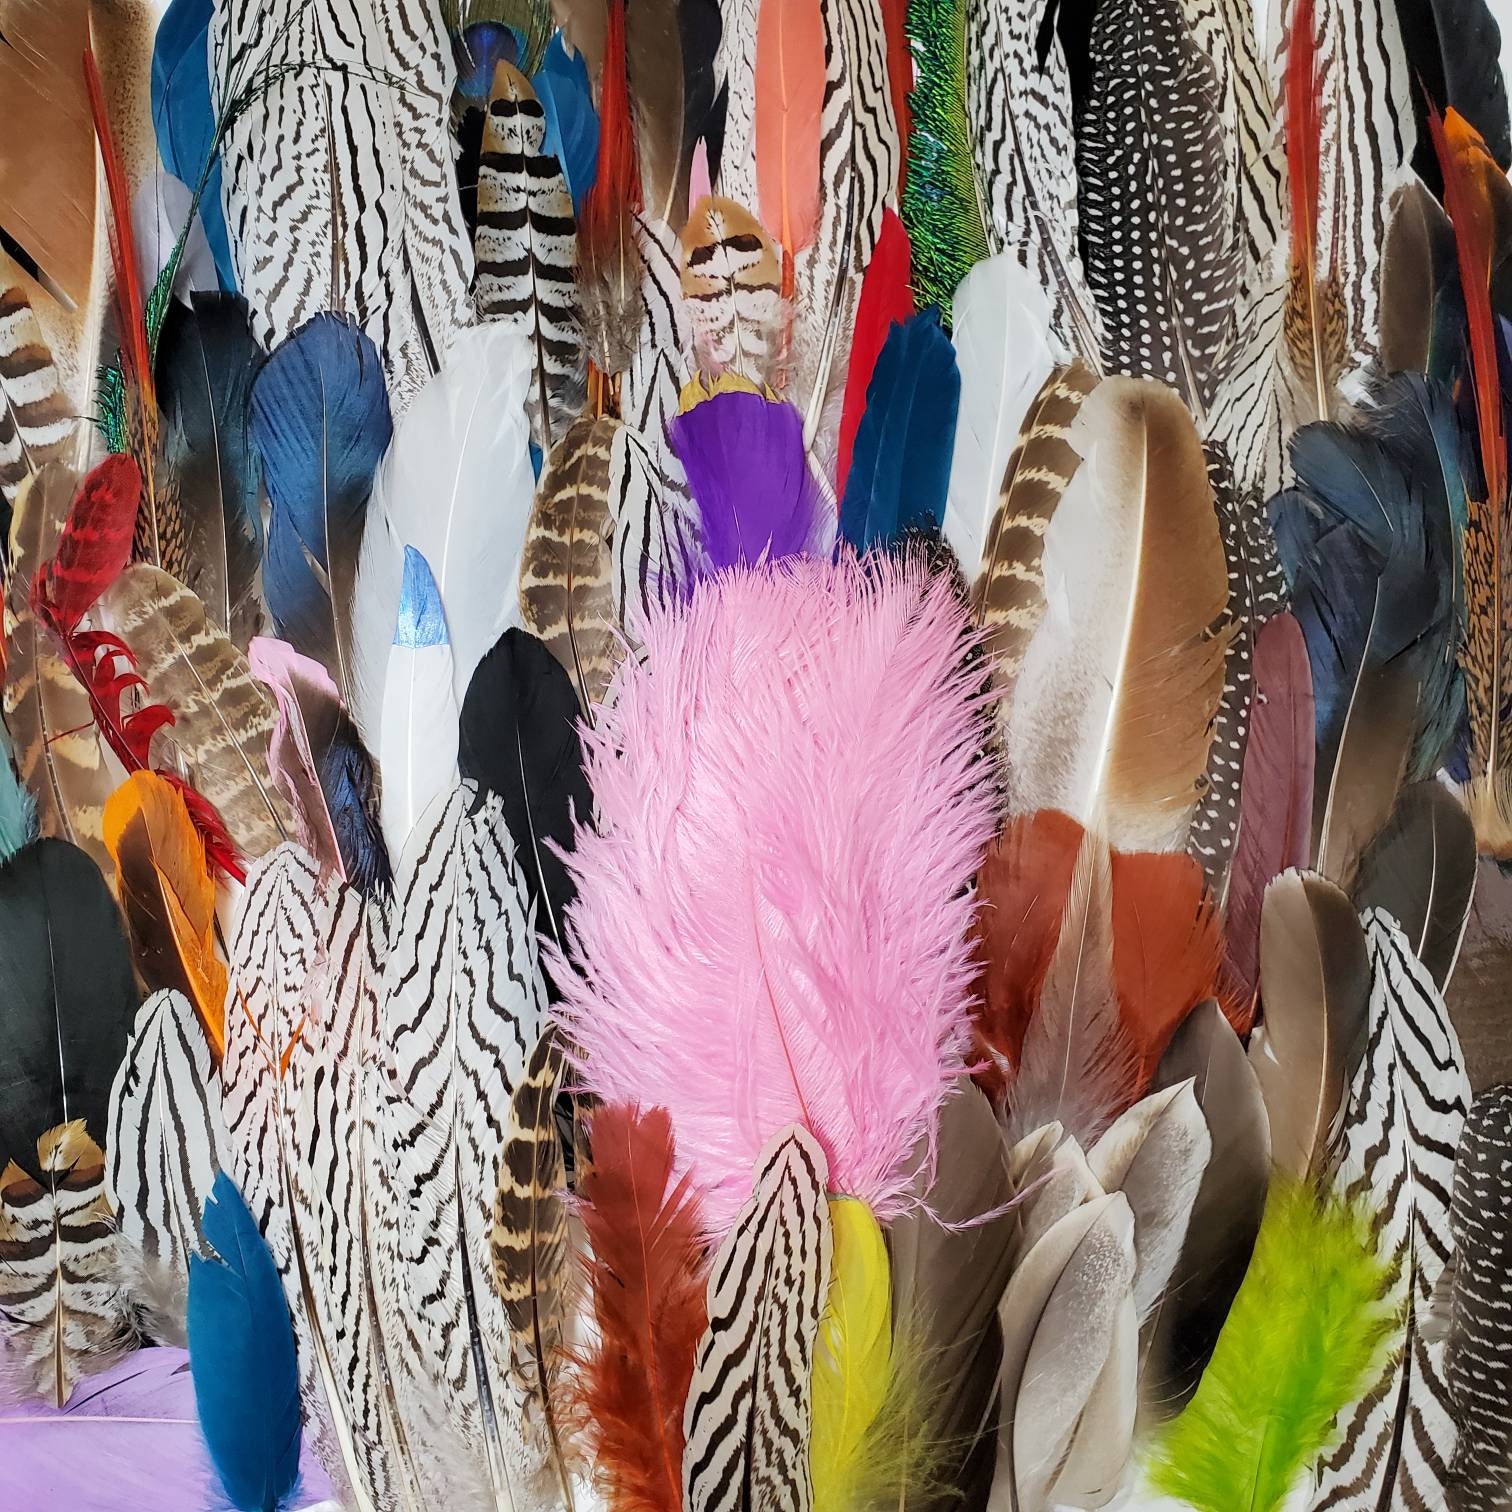
Let's Explore Real Feathers!
Touch gently with one finger Look at the colors and patterns Notice if it's soft or rough See the different shapes
Drawing Tools We Can Use
Charcoal - makes thick, soft lines Oil pastels - bright colors and smooth Pencils - thin, detailed lines Crayons - colorful and easy to hold

Two Different Ways to Draw
{"left":"Small and detailed - look very closely at tiny parts","right":"Large and bold - fill the whole paper with big marks"}

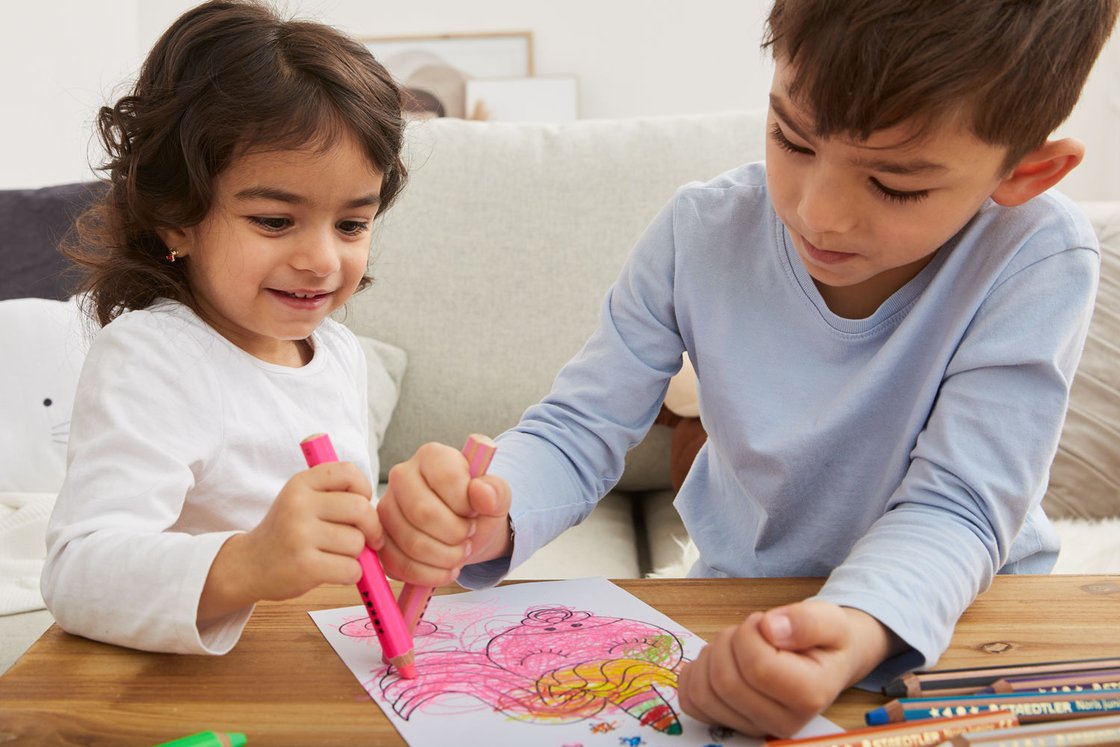
Your Turn to Create!
Work with your partner Share one feather between you Try at least 2 different tools Make your drawings different sizes

What marks did you discover?
Show your partner your favorite mark Which tool was most fun to use? How did you make your feather look soft?

Well Done, Artists!
You observed feathers carefully You tried new drawing tools You created unique artwork You worked well with partners Next: We'll use these skills for our bird sculptures!