Fun with Foam Printmaking Techniques
Year 1 Art and Design Introduction to Printmaking Inspired by Paul Klee

What is Printmaking?
Making copies of the same picture Using special blocks and ink Pressing paper onto inked surfaces Artists have done this for hundreds of years!
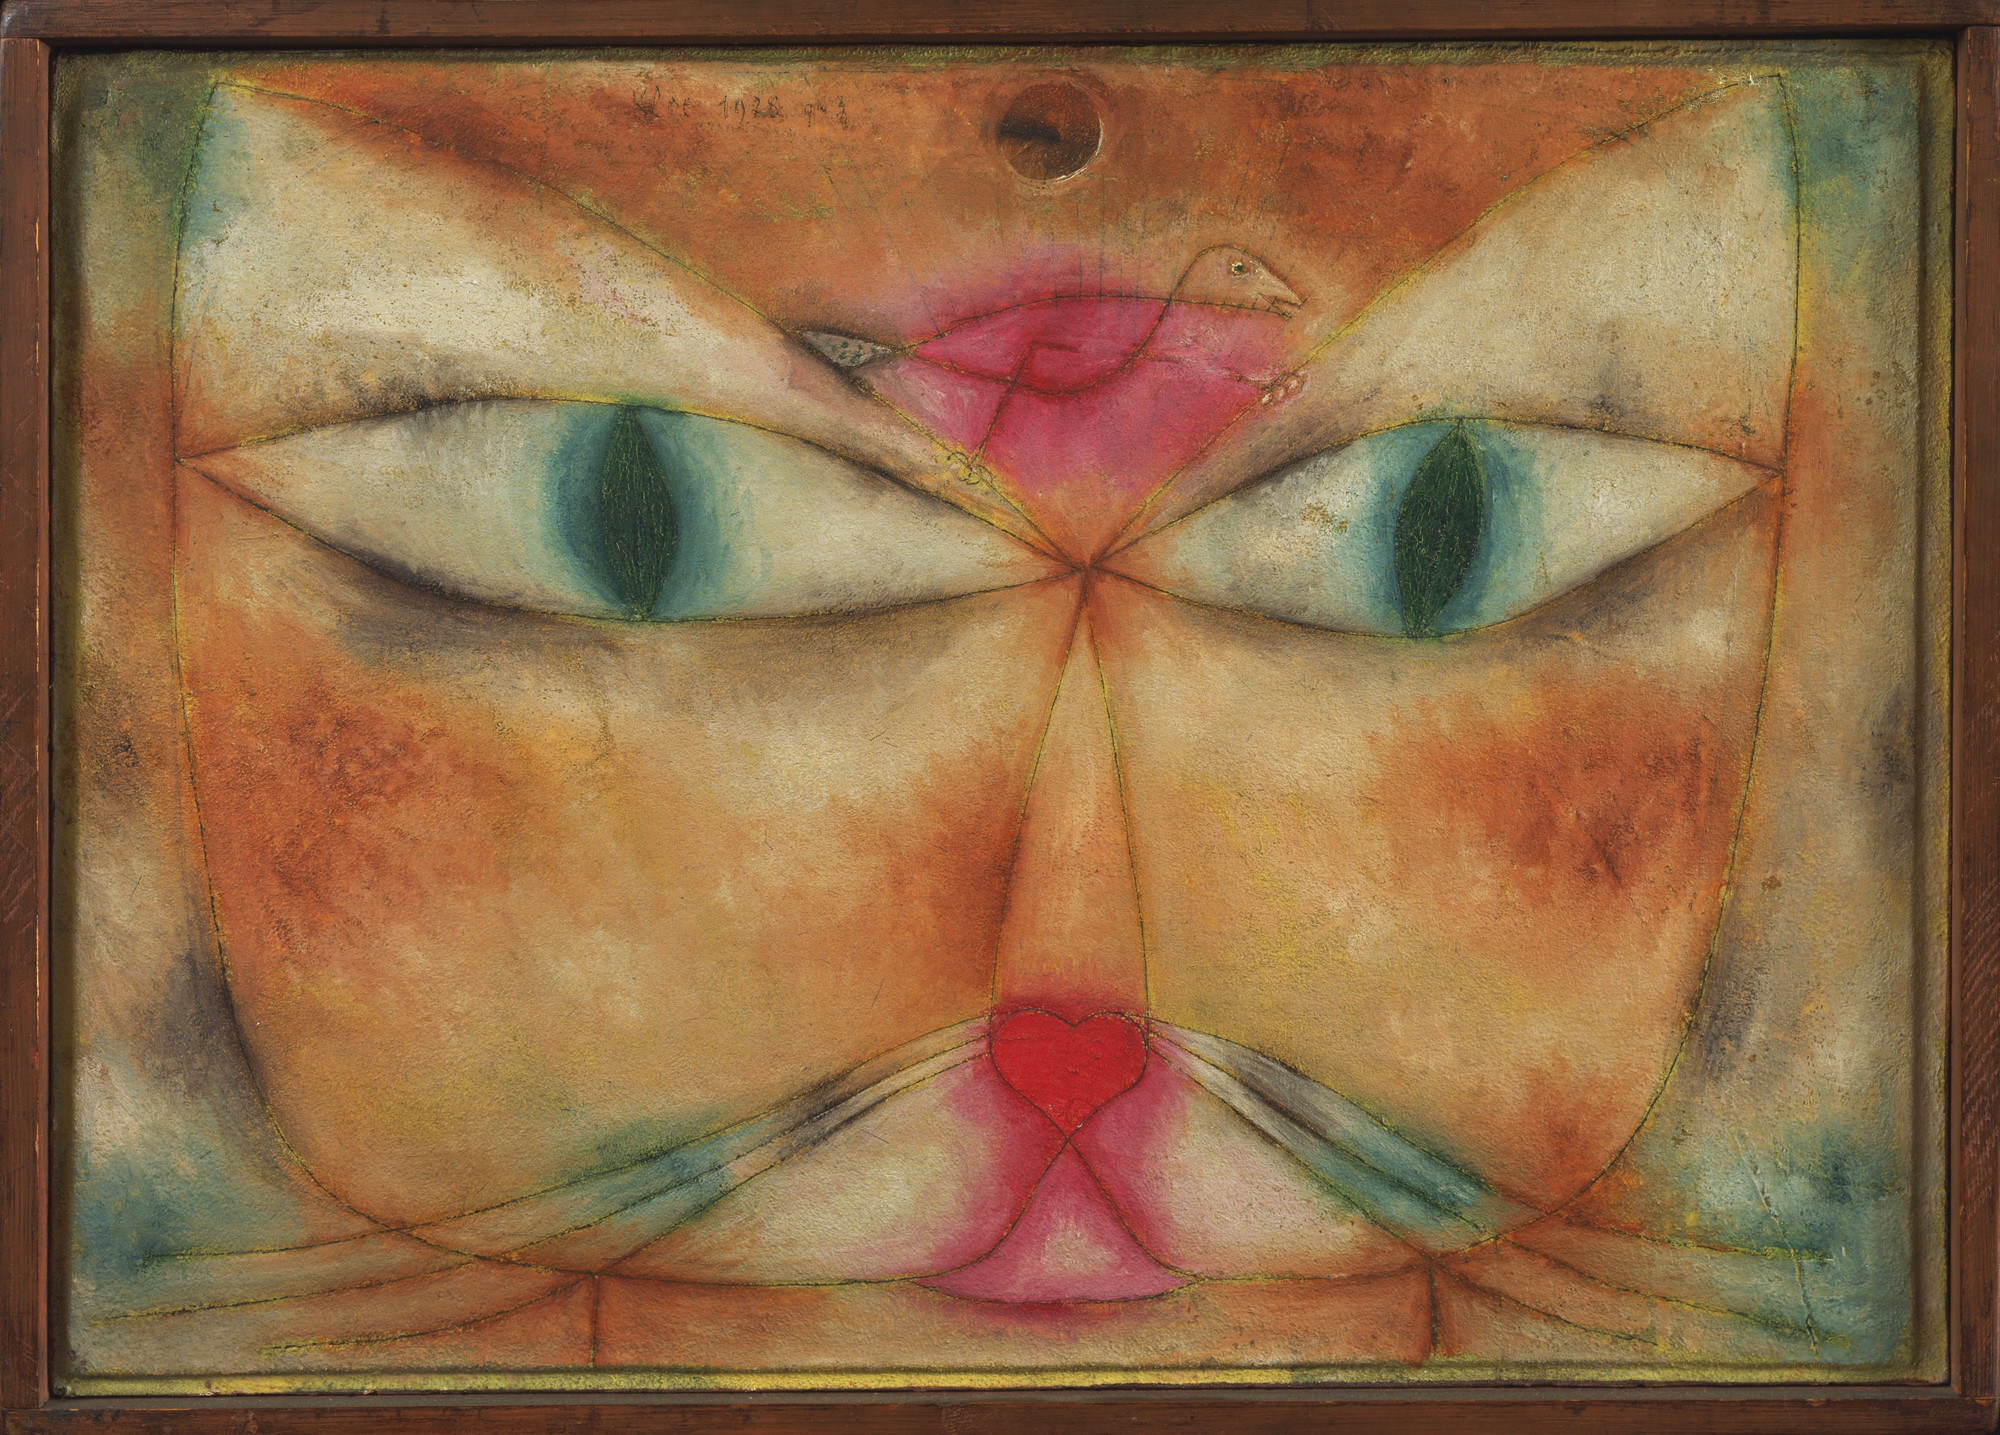
Remember Paul Klee?
Famous artist who loved shapes and colors Painted birds, spirals, and landscapes Used simple lines and bright colors We made watercolors inspired by his work!

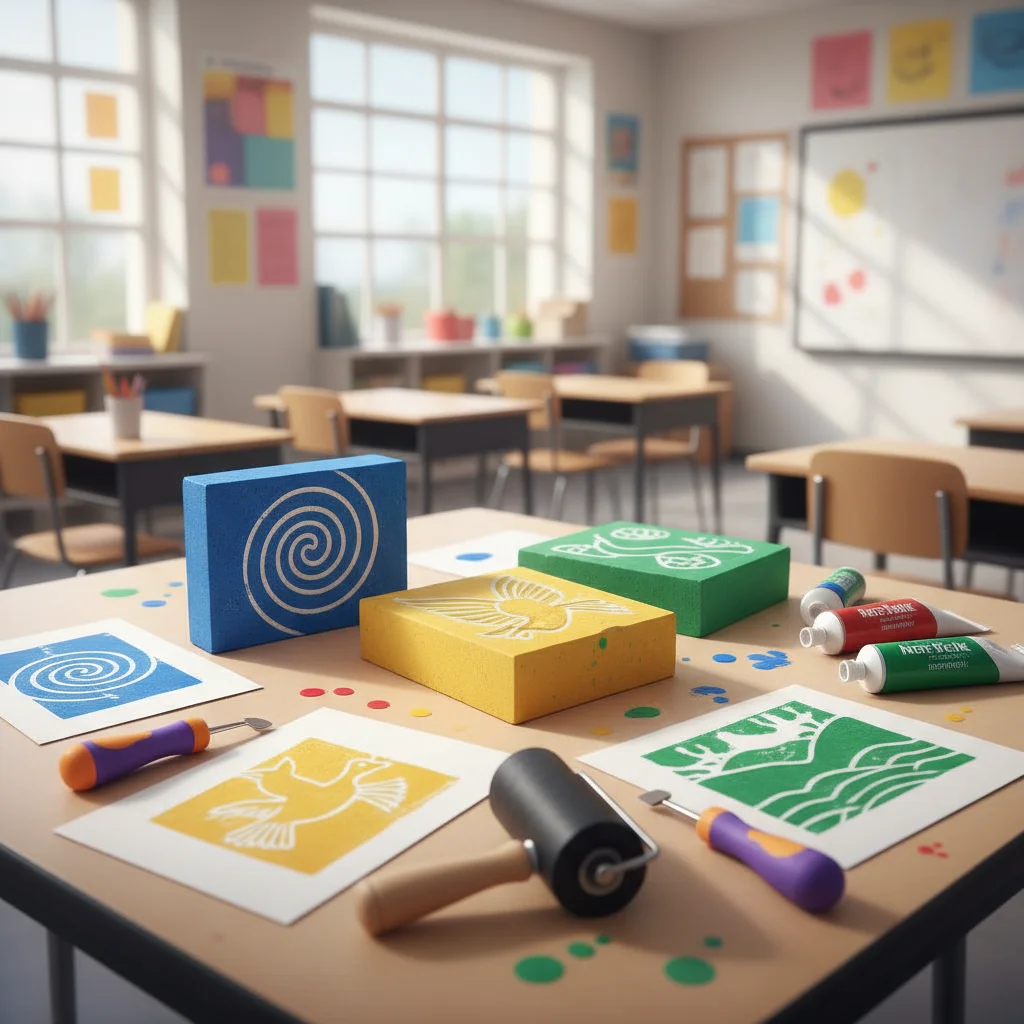
Our Printmaking Tools
Soft foam sheets Safe carving tools (stylus) Water-based inks Rollers to spread ink Paper for printing
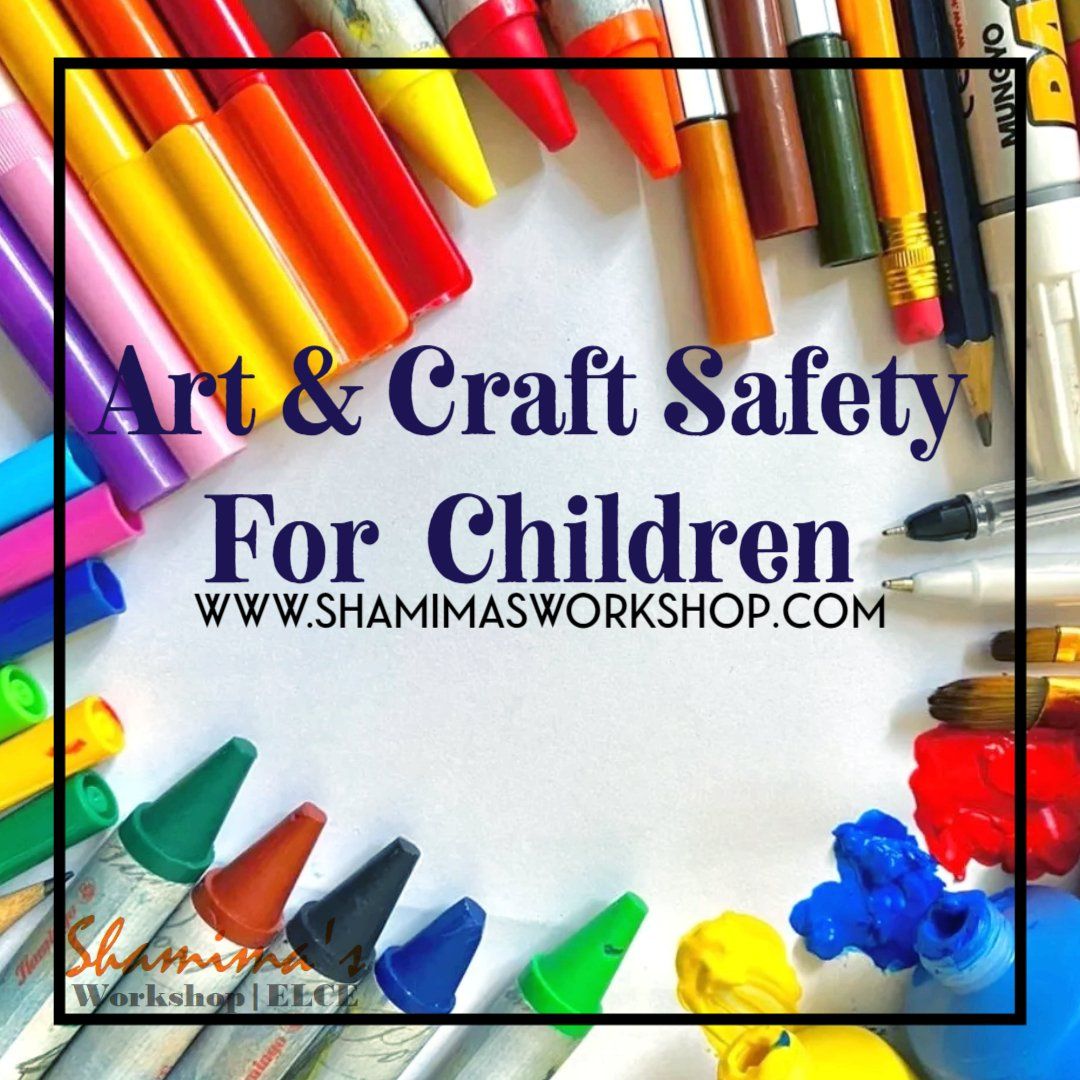
Safety First!
Hold carving tools properly Only make light marks on foam Keep ink on the foam and paper Wear aprons to protect clothes Clean hands when finished
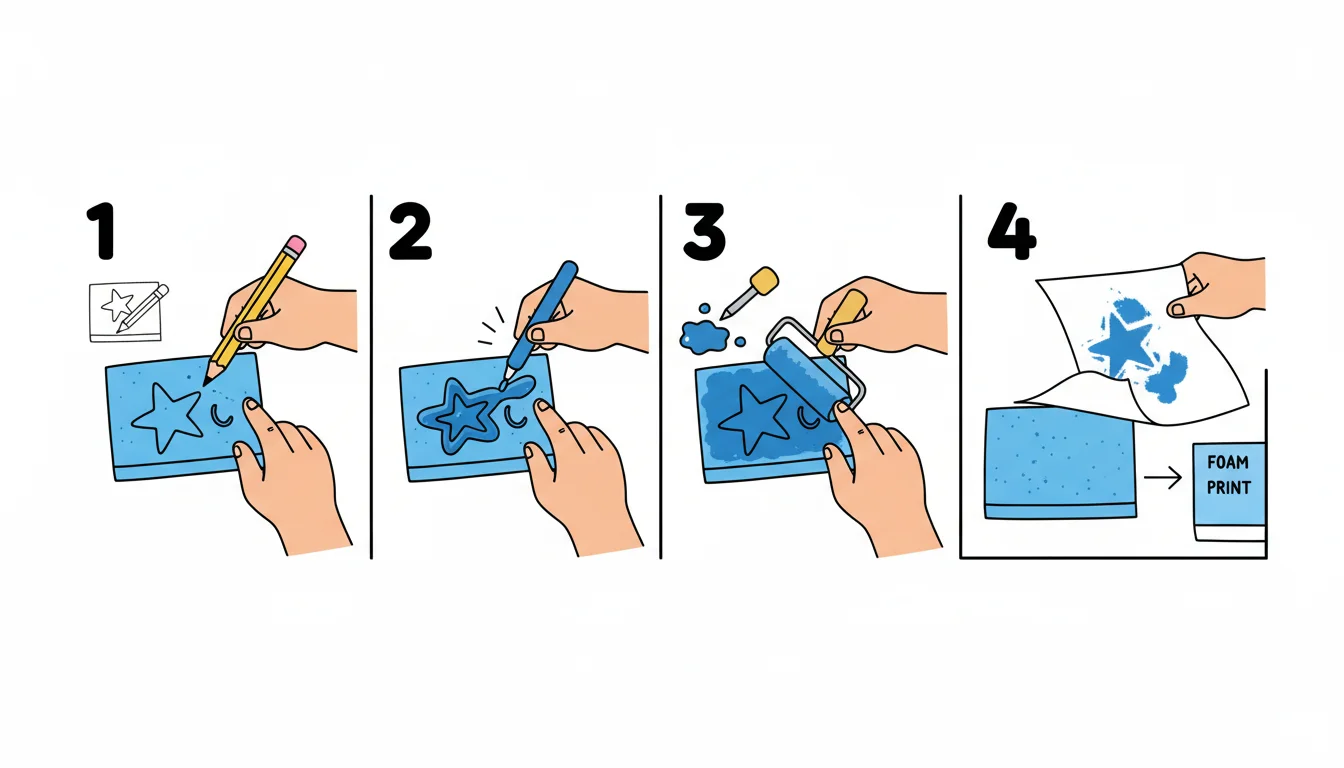
Step-by-Step Printmaking Process
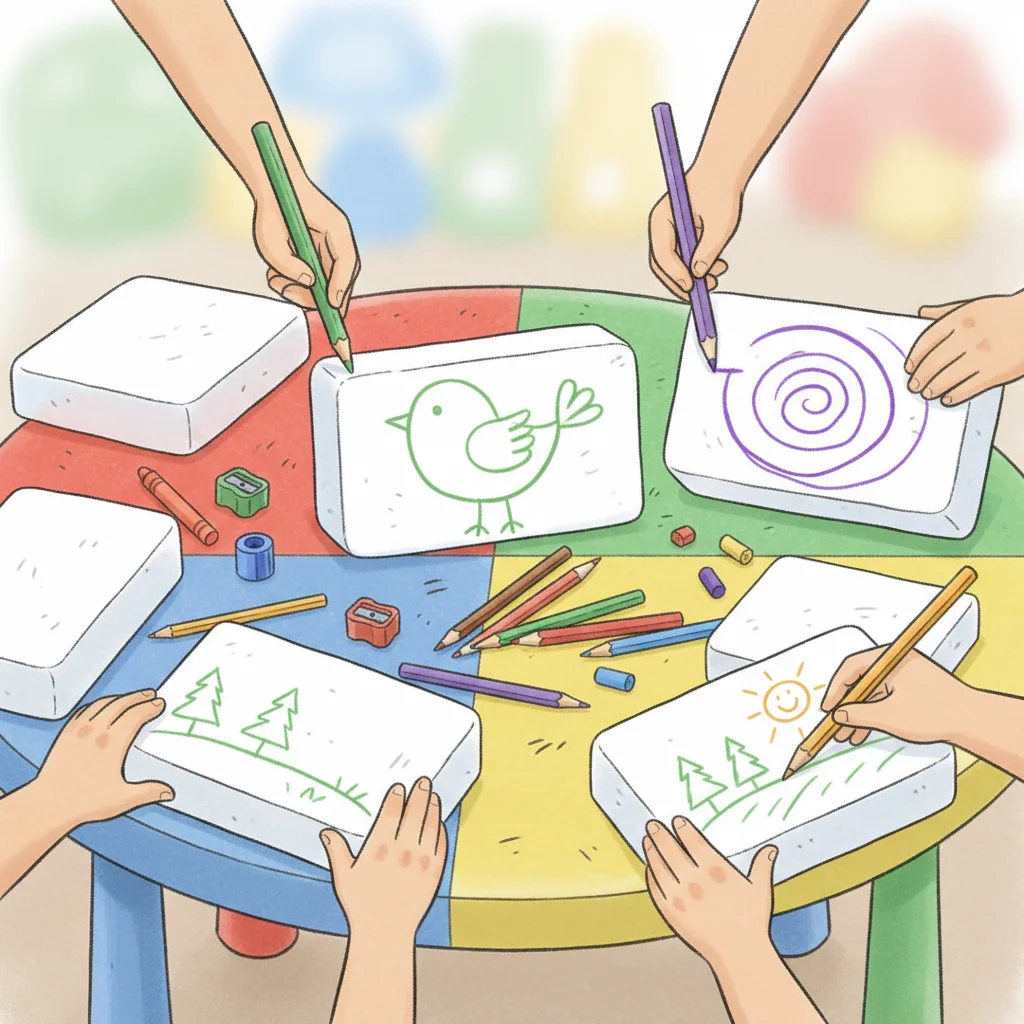
Create Your Design
Choose: bird, spiral, or landscape Think about your watercolor paintings Draw lightly on foam first Keep designs simple and bold Ask for help if needed

Carving and Inking
Gently carve your design with the stylus Only press lightly - no deep cuts needed Roll ink evenly on your foam Choose your favorite colors Make sure ink covers the raised parts

Making Our Prints
Place paper carefully on inked foam Press down firmly and evenly Peel paper away slowly What do you think will happen? Let's try making 2 prints each!
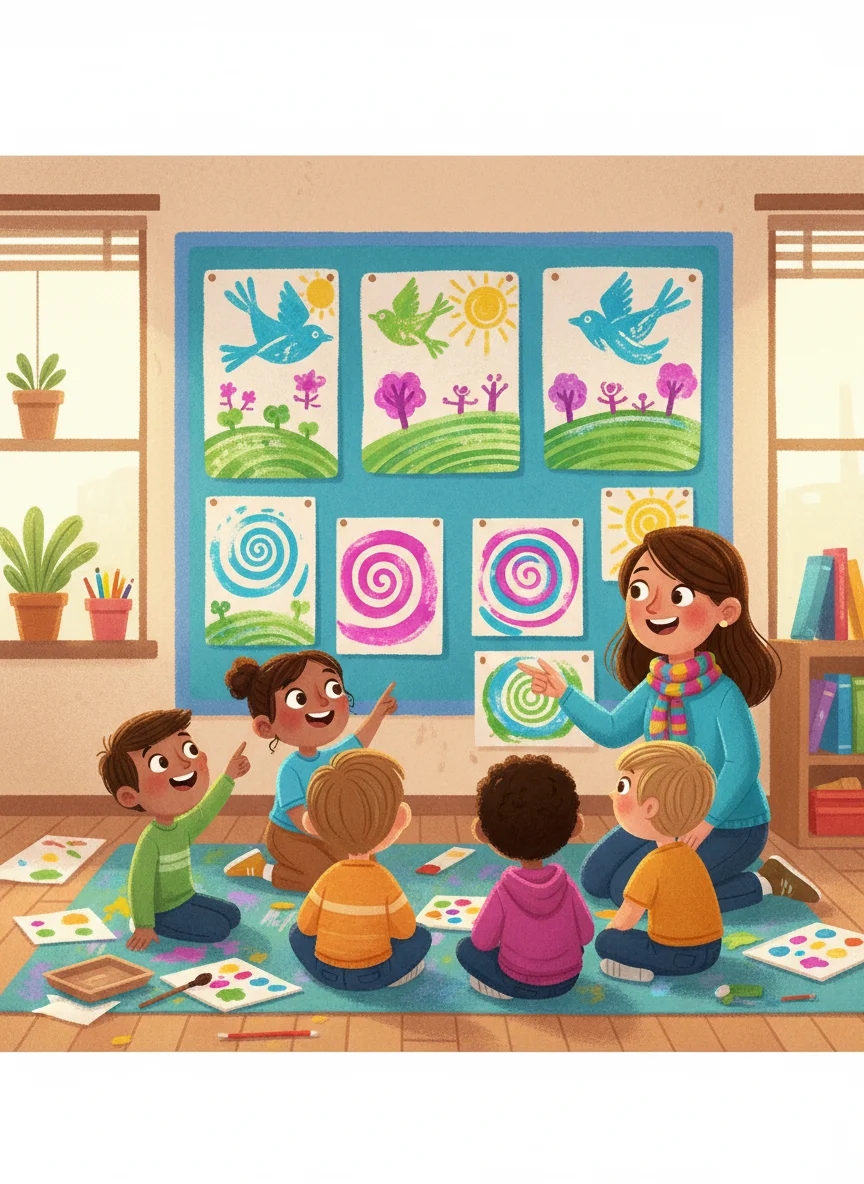
Sharing Our Amazing Prints!
Display your prints for everyone to see Tell us about your design What was your favorite part? How does it connect to your watercolors? What would you try differently next time?