Keychain Design Worksheet
A free technology worksheet ready for your classroom. Open in Kuraplan to grab the print-ready PDF, customize it for your students, or generate a fresh version in seconds.
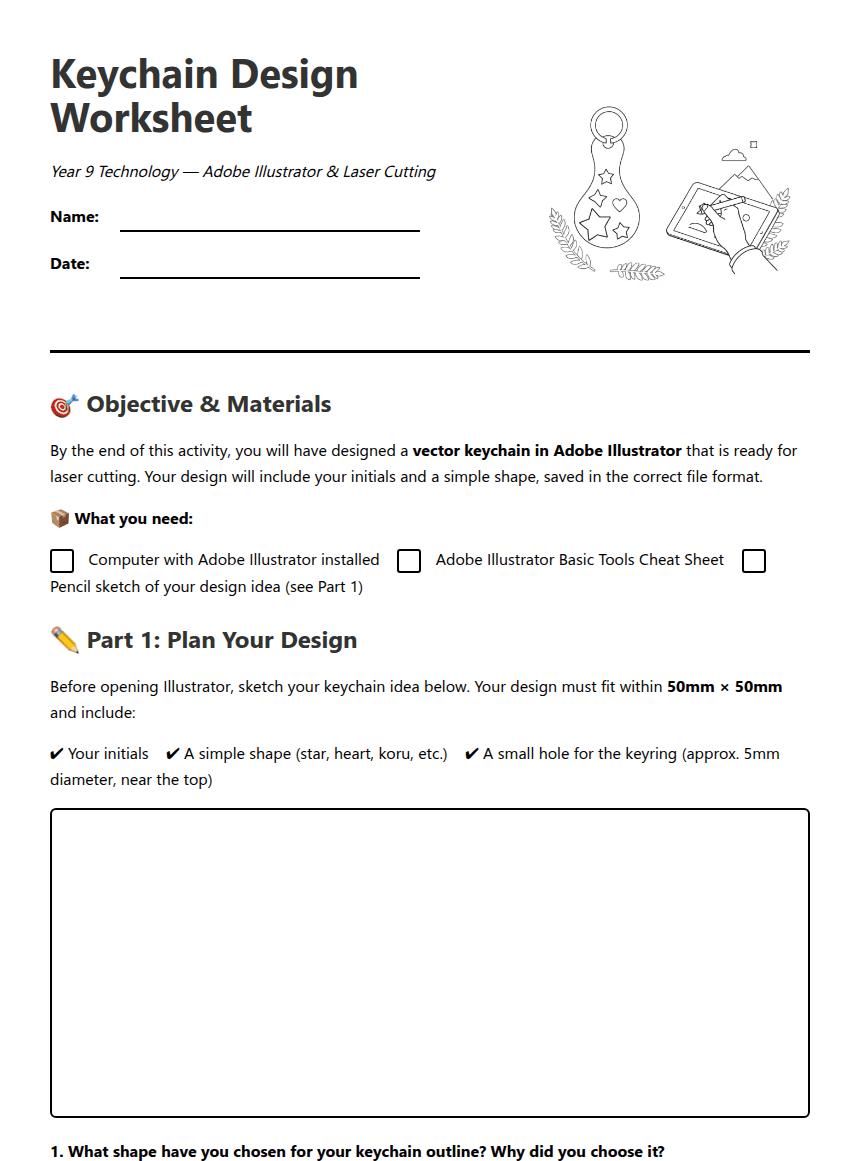
Keychain Design Worksheet
Year 9 Technology — Adobe Illustrator & Laser Cutting

🎯 Objective & Materials
By the end of this activity, you will have designed a vector keychain in Adobe Illustrator that is ready for laser cutting. Your design will include your initials and a simple shape, saved in the correct file format.
📦 What you need:
Computer with Adobe Illustrator installed Adobe Illustrator Basic Tools Cheat Sheet Pencil sketch of your design idea (see Part 1)
✏️ Part 1: Plan Your Design
Before opening Illustrator, sketch your keychain idea below. Your design must fit within 50mm × 50mm and include:
✔ Your initials ✔ A simple shape (star, heart, koru, etc.) ✔ A small hole for the keyring (approx. 5mm diameter, near the top)
💻 Part 2: Step-by-Step in Adobe Illustrator
Follow each step below. Tick the box when you have completed it. Use your cheat sheet if you get stuck!
Step 1 — Set up your document
Open Illustrator → File > New → Set width and height to 50mm × 50mm → Click OK.Step 2 — Create your keychain outline
Use the Shape Tool (rectangle, ellipse, or polygon) to draw your keychain outline. Keep it within the artboard.🟡 Beginner tip: Hold Shift while dragging to make a perfect square or circle.
🔵 Advanced tip: Use the Pen Tool to create a custom outline shape (e.g., a koru or star).
Step 3 — Add the keyring hole
Select the Ellipse Tool (L) → Hold Shift and draw a small circle (approx. 5mm) near the top of your design. Centre the hole horizontally: select both shapes → Window > Align → click Horizontal Align Centre.Step 4 — Add your initials or design
Use the Text Tool (T) to type your initials, OR use the Pen Tool to draw a simple design. If using text: go to Type > Create Outlines to convert text to vector paths.🟡 Beginner tip: Keep your initials large and bold so they are clear when laser engraved.
🔵 Advanced tip: Try combining your initials with a decorative Matariki-inspired pattern inside your shape.
Step 5 — Set up layers for laser cutting
Open the Layers panel (Window > Layers). Rename Layer 1 to "Cut Lines" — this is your keychain outline and hole (no fill, 0.01pt stroke). Add a new layer called "Engrave" — move your initials/design to this layer.💡 Why layers matter: The laser cutter reads cut lines and engraving lines separately. Cut lines tell it where to cut; engrave lines tell it where to etch the surface.
Step 6 — Check and export your file
Check all shapes are vector paths (no raster/bitmap images). Remove any fill colour from cut lines — stroke only, set to 0.01pt. Save as: File > Save As → choose SVG or DXF format.🔵 Advanced tip: Export a PDF proof to double-check your design looks correct before sending to the laser cutter.
🪞 Part 3: Reflection
🌟 Extension Challenge: If you finished early, try adding a Matariki-inspired pattern (e.g., a koru or star cluster) to your engraving layer. How does this connect your design to its cultural context?
About This Worksheet
Free in Kuraplan
Sign up free, grab the PDF, and customize it for your class.
Print-Ready
Formatted for standard paper. Clean layout, easy to read.
AI-Generated
Created with Kuraplan's AI, designed for real classroom use.
For Teachers & Parents
Use in classrooms, for homework, tutoring, or homeschool.
Need a custom version of this worksheet?
Kuraplan's AI generates custom worksheets in seconds — differentiated for every learner, aligned to your curriculum.
Generate Custom Worksheets — FreeMore Technology Worksheets
Personal Training Session Design
Free
Packaging Engineer Design Challenge
Free
Aircraft Design and Aerodynamics
Free
Sustainable Farm Design Worksheet
Free
Sustainable Kiwi Invention Design
Free
Design Software Basics Worksheet
Free
Design Software Essentials
Free