EnglishFreePrintable
Cursive Handwriting Introduction
A free english worksheet ready for your classroom. Open in Kuraplan to grab the print-ready PDF, customize it for your students, or generate a fresh version in seconds.
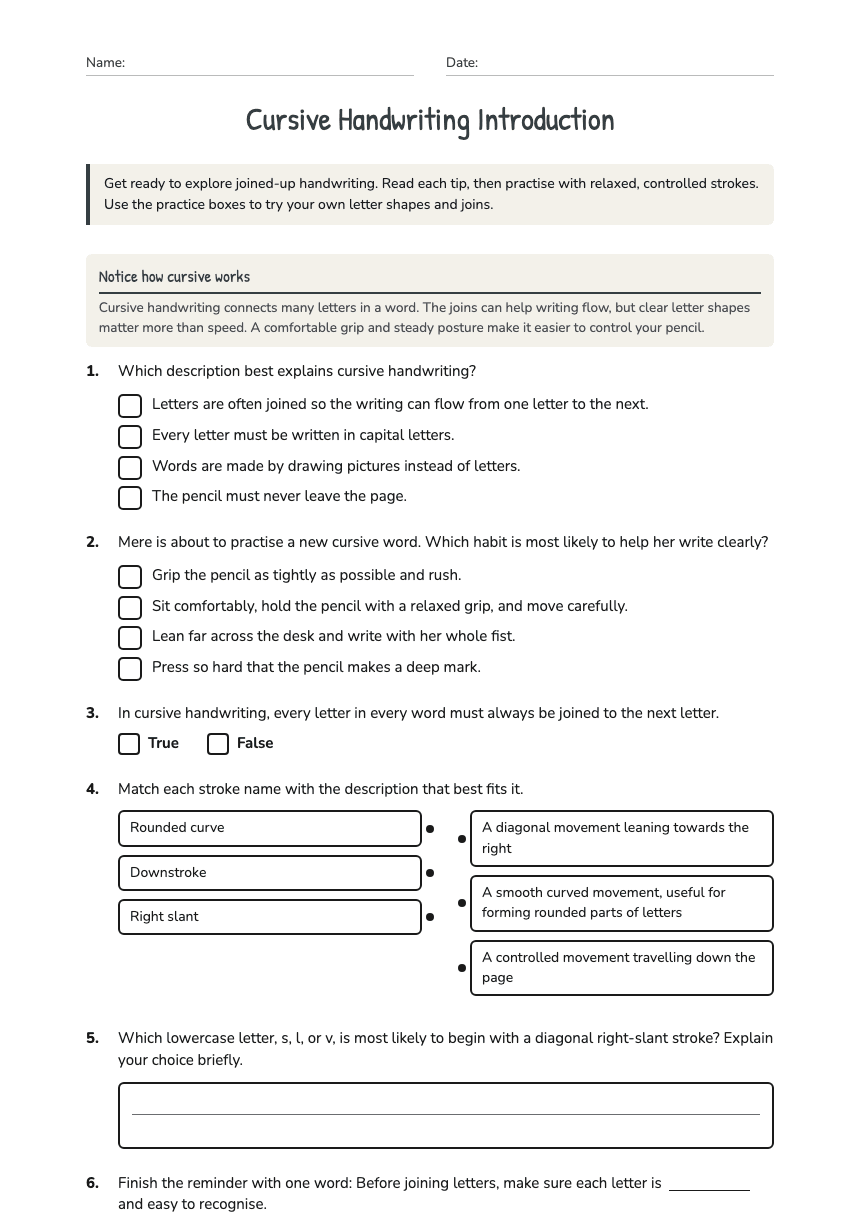
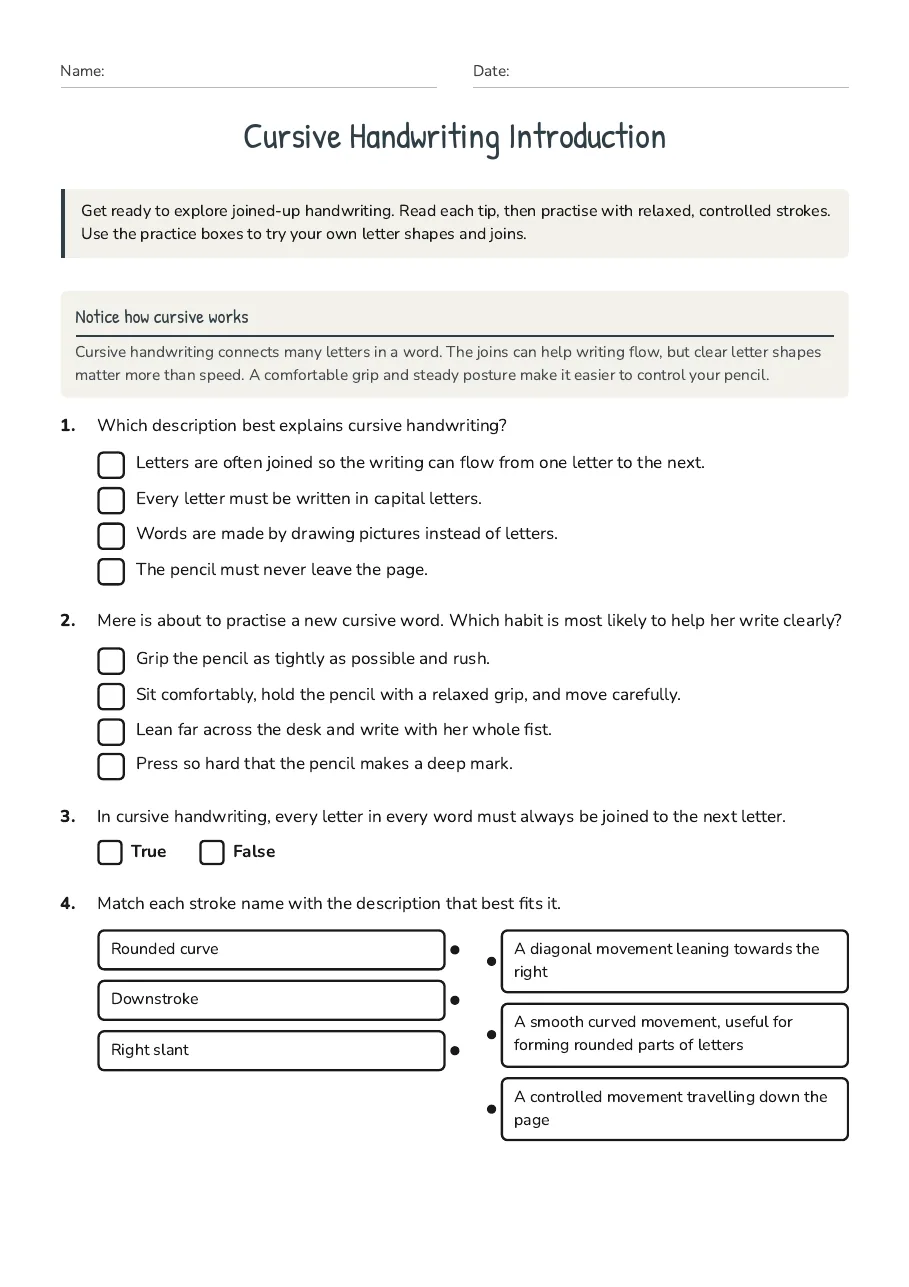
Name:Date:
Cursive Handwriting Introduction
Get ready to explore joined-up handwriting. Read each tip, then practise with relaxed, controlled strokes. Use the practice boxes to try your own letter shapes and joins.
Notice how cursive works
Cursive handwriting connects many letters in a word. The joins can help writing flow, but clear letter shapes matter more than speed. A comfortable grip and steady posture make it easier to control your pencil.
1.Which description best explains cursive handwriting?
- Letters are often joined so the writing can flow from one letter to the next.
- Every letter must be written in capital letters.
- Words are made by drawing pictures instead of letters.
- The pencil must never leave the page.
2.Mere is about to practise a new cursive word. Which habit is most likely to help her write clearly?
- Grip the pencil as tightly as possible and rush.
- Sit comfortably, hold the pencil with a relaxed grip, and move carefully.
- Lean far across the desk and write with her whole fist.
- Press so hard that the pencil makes a deep mark.
3.In cursive handwriting, every letter in every word must always be joined to the next letter.
TrueFalse
4.Match each stroke name with the description that best fits it.
- Rounded curve
- Downstroke
- Right slant
- A diagonal movement leaning towards the right
- A smooth curved movement, useful for forming rounded parts of letters
- A controlled movement travelling down the page
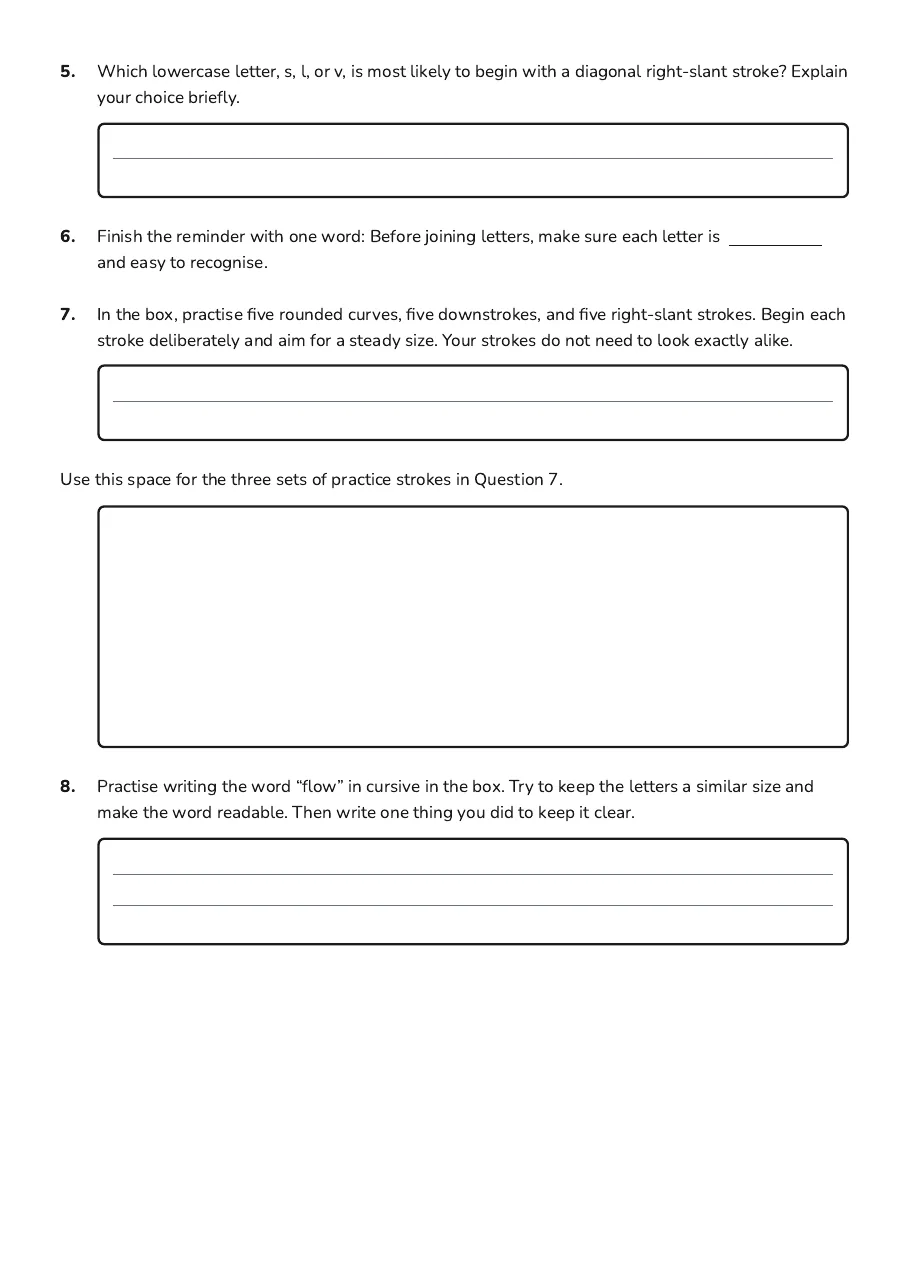
5.Which lowercase letter, s, l, or v, is most likely to begin with a diagonal right-slant stroke? Explain your choice briefly.
6.Finish the reminder with one word: Before joining letters, make sure each letter is and easy to recognise.
7.In the box, practise five rounded curves, five downstrokes, and five right-slant strokes. Begin each stroke deliberately and aim for a steady size. Your strokes do not need to look exactly alike.
Use this space for the three sets of practice strokes in Question 7.
8.Practise writing the word “flow” in cursive in the box. Try to keep the letters a similar size and make the word readable. Then write one thing you did to keep it clear.
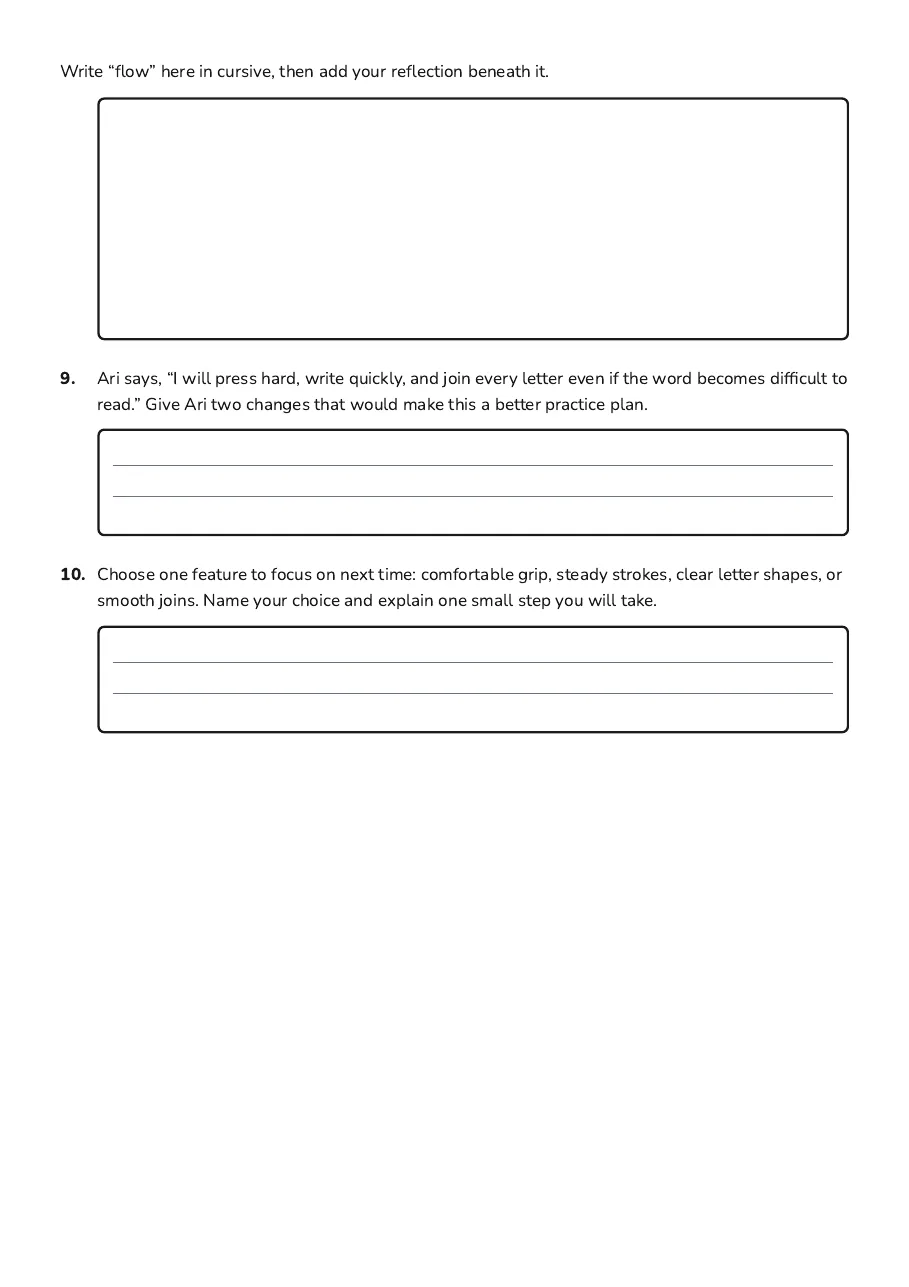
Write “flow” here in cursive, then add your reflection beneath it.
9.Ari says, “I will press hard, write quickly, and join every letter even if the word becomes difficult to read.” Give Ari two changes that would make this a better practice plan.
10.Choose one feature to focus on next time: comfortable grip, steady strokes, clear letter shapes, or smooth joins. Name your choice and explain one small step you will take.
3 printable pages
Page 1
Page 2
Page 3
About This Worksheet
Free in Kuraplan
Sign up free, grab the PDF, and customize it for your class.
Print-Ready
Formatted for standard paper. Clean layout, easy to read.
AI-Generated
Created with Kuraplan's AI, designed for real classroom use.
For Teachers & Parents
Use in classrooms, for homework, tutoring, or homeschool.
Need a custom version of this worksheet?
Kuraplan's AI generates custom worksheets in seconds — differentiated for every learner, aligned to your curriculum.
Generate Custom Worksheets — Free No credit card Curriculum-aligned Under 60 seconds
More English Worksheets
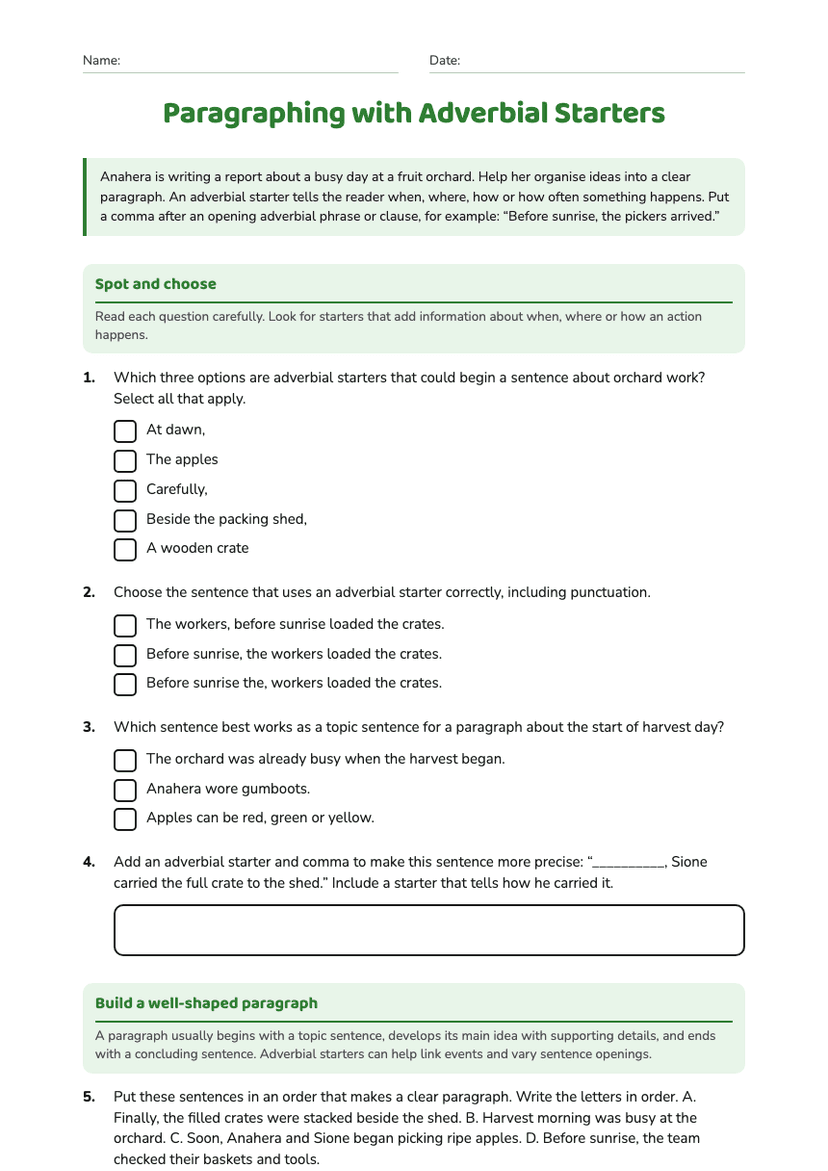
Year 5
Paragraphing with Adverbial Starters
Free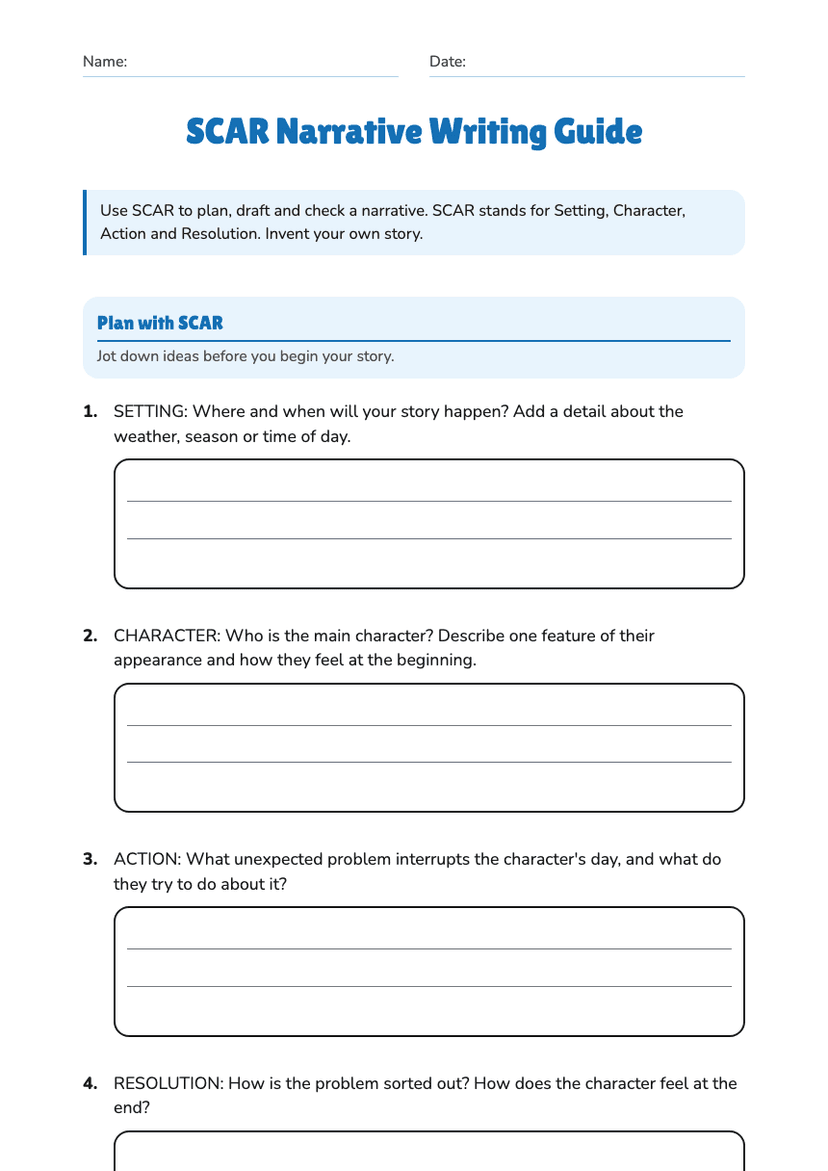
SCAR Narrative Writing Guide
Free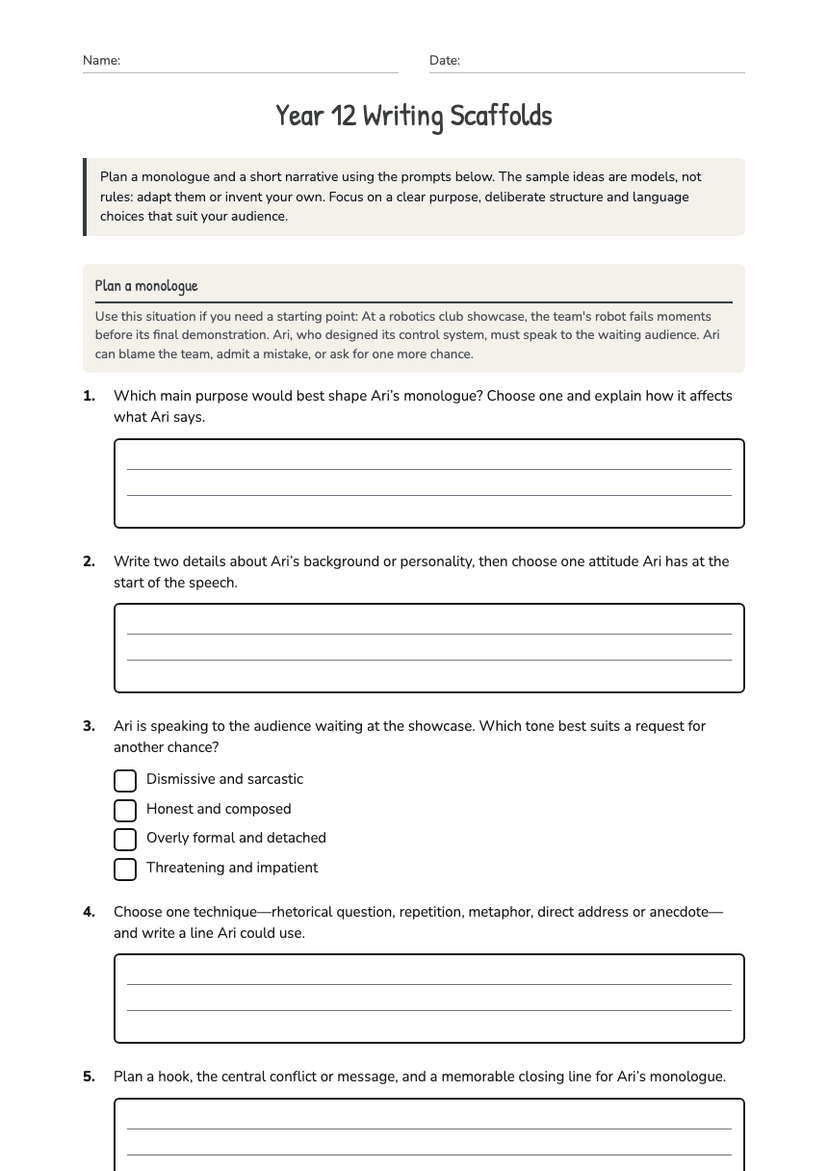
Year 12 Writing Scaffolds
Free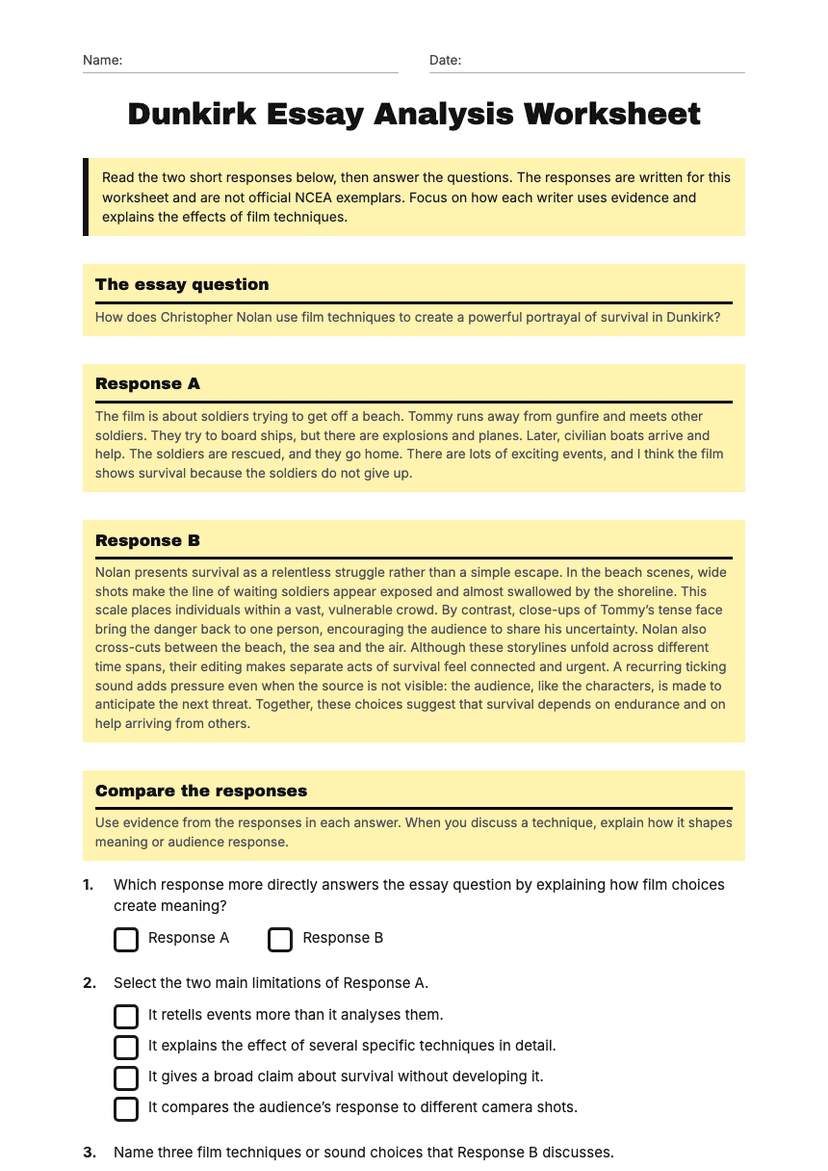
Year 12
Dunkirk Essay Analysis Worksheet
Free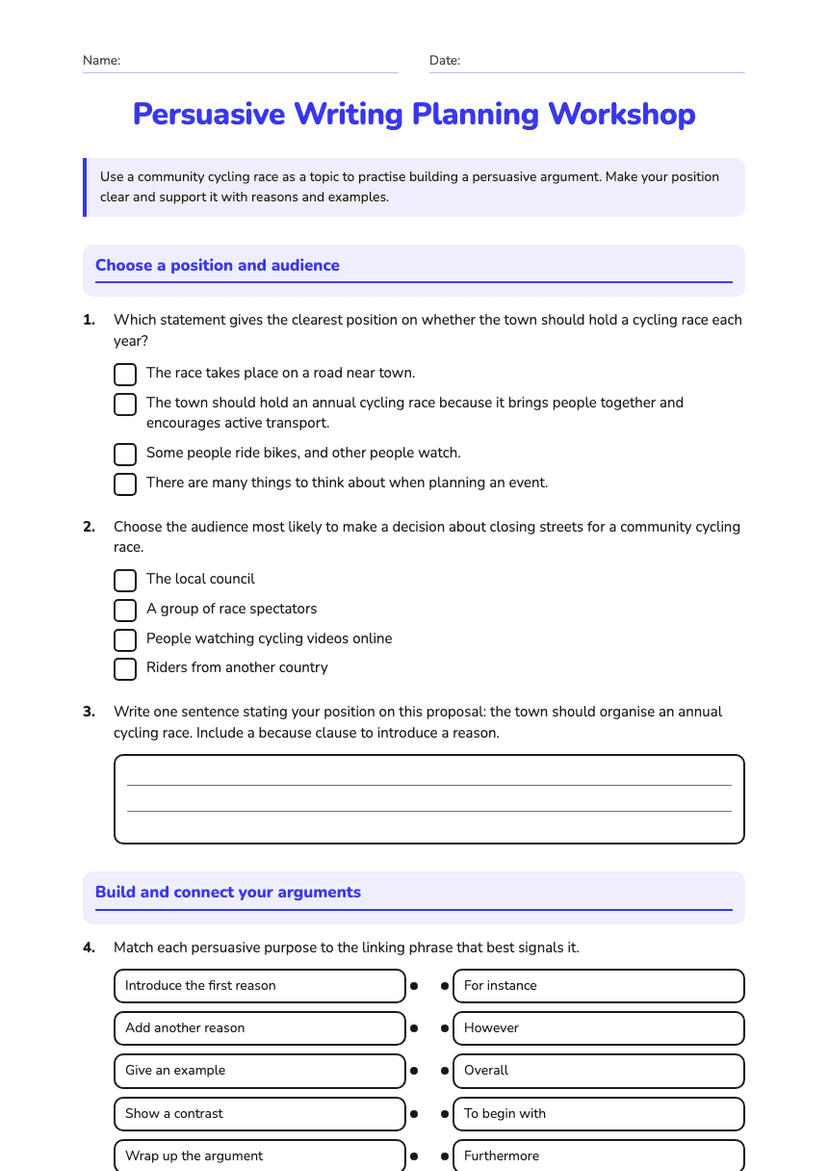
Year 7–8
Persuasive Writing Planning Workshop
Free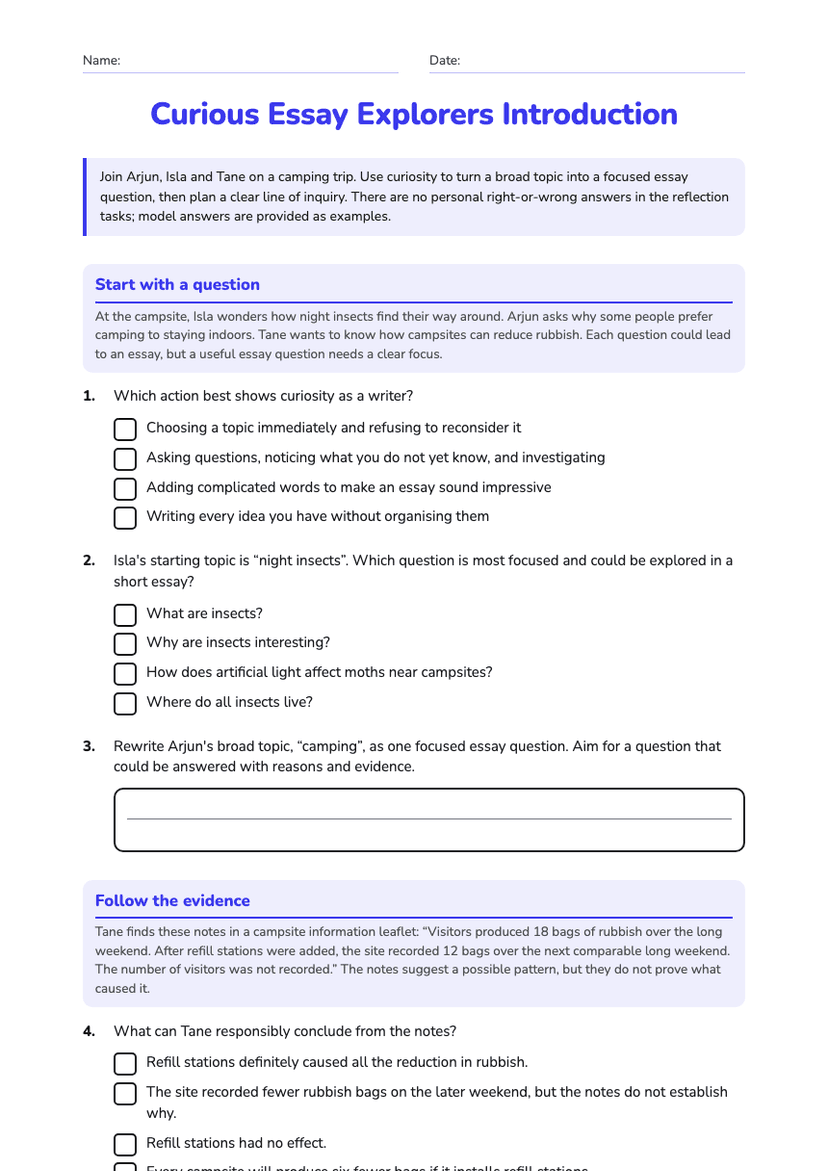
Year 9
Curious Essay Explorers Introduction
Free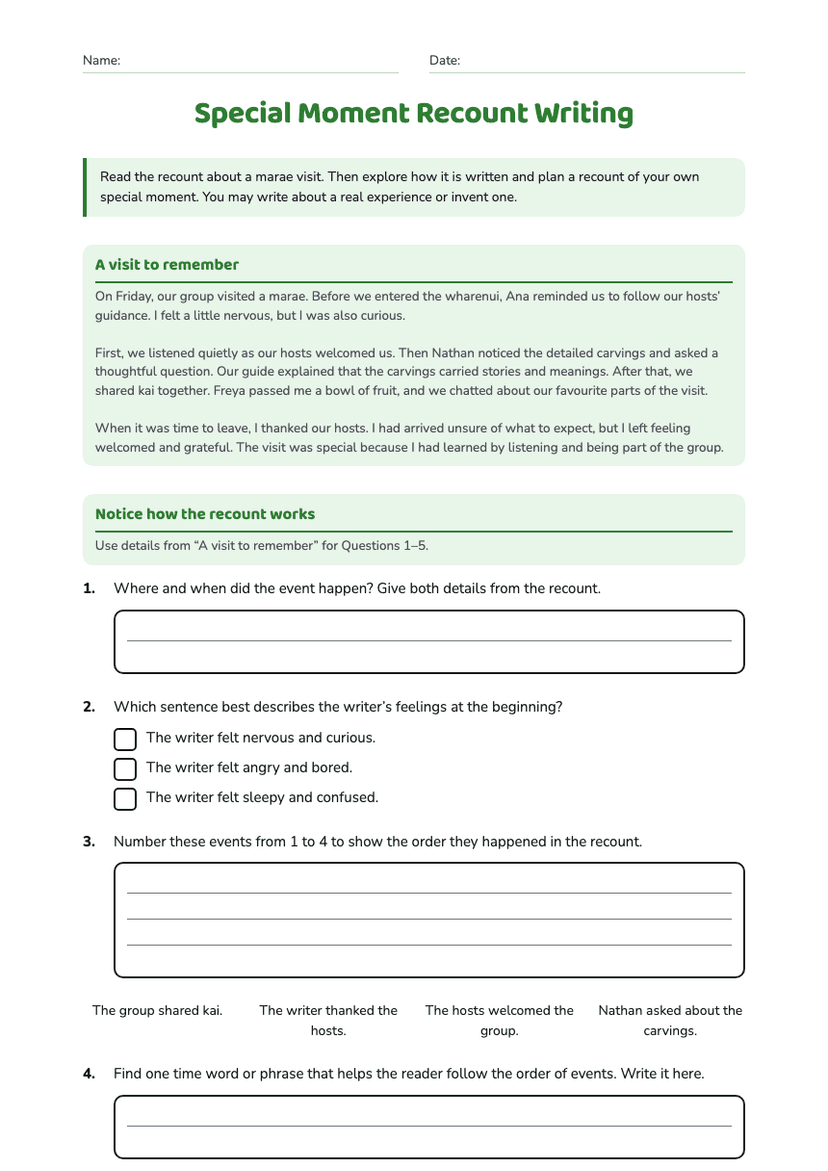
Year 5–6
Special Moment Recount Writing
Free
Year 2–3